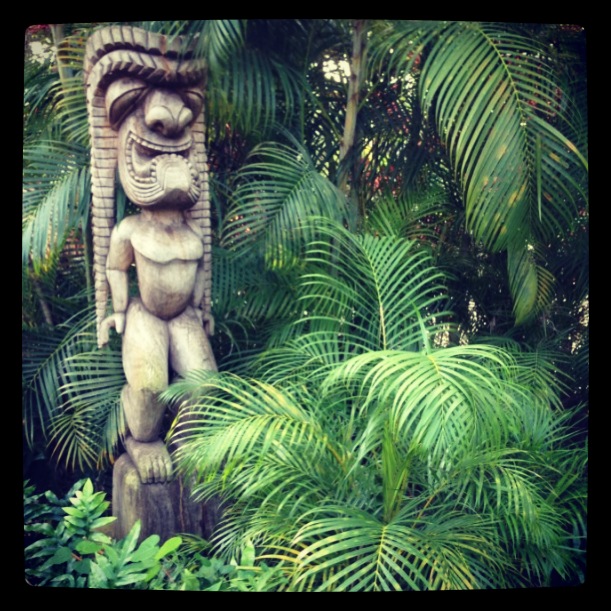
Tiki masks are a captivating element of Polynesian culture. The traditions of the Hawaiian and Fijian people deeply root them.
These masks from the Hawaiian islands, often carved from wood, represent various deities. Cook Islanders believe that they offer protection and use them in ceremonies and decor.
In this guide, we will delve into the art of creating your own tiki mask. Our goal is to offer a clear, step-by-step guide that honors the cultural history of Polynesian island masks.
This guide is for DIY enthusiasts, cultural hobbyists, and home decorators looking to add a tribal touch. We'll help you craft a mask that reflects traditional designs and techniques.
In this article, you will learn how to make a custom Hawaiian tiki mask that is culturally important. This mask will be unique to you and hold special meaning. Let's explore the different tiki masks from Hawaii, Samoa, and Tonga on a creative journey together.
The Cultural Significance of Tiki Masks
Tiki masks hold a significant place in Polynesian culture. Polynesian tattoos from Marquesas islands are not just decorations; they represent the history and beliefs of Polynesian culture.
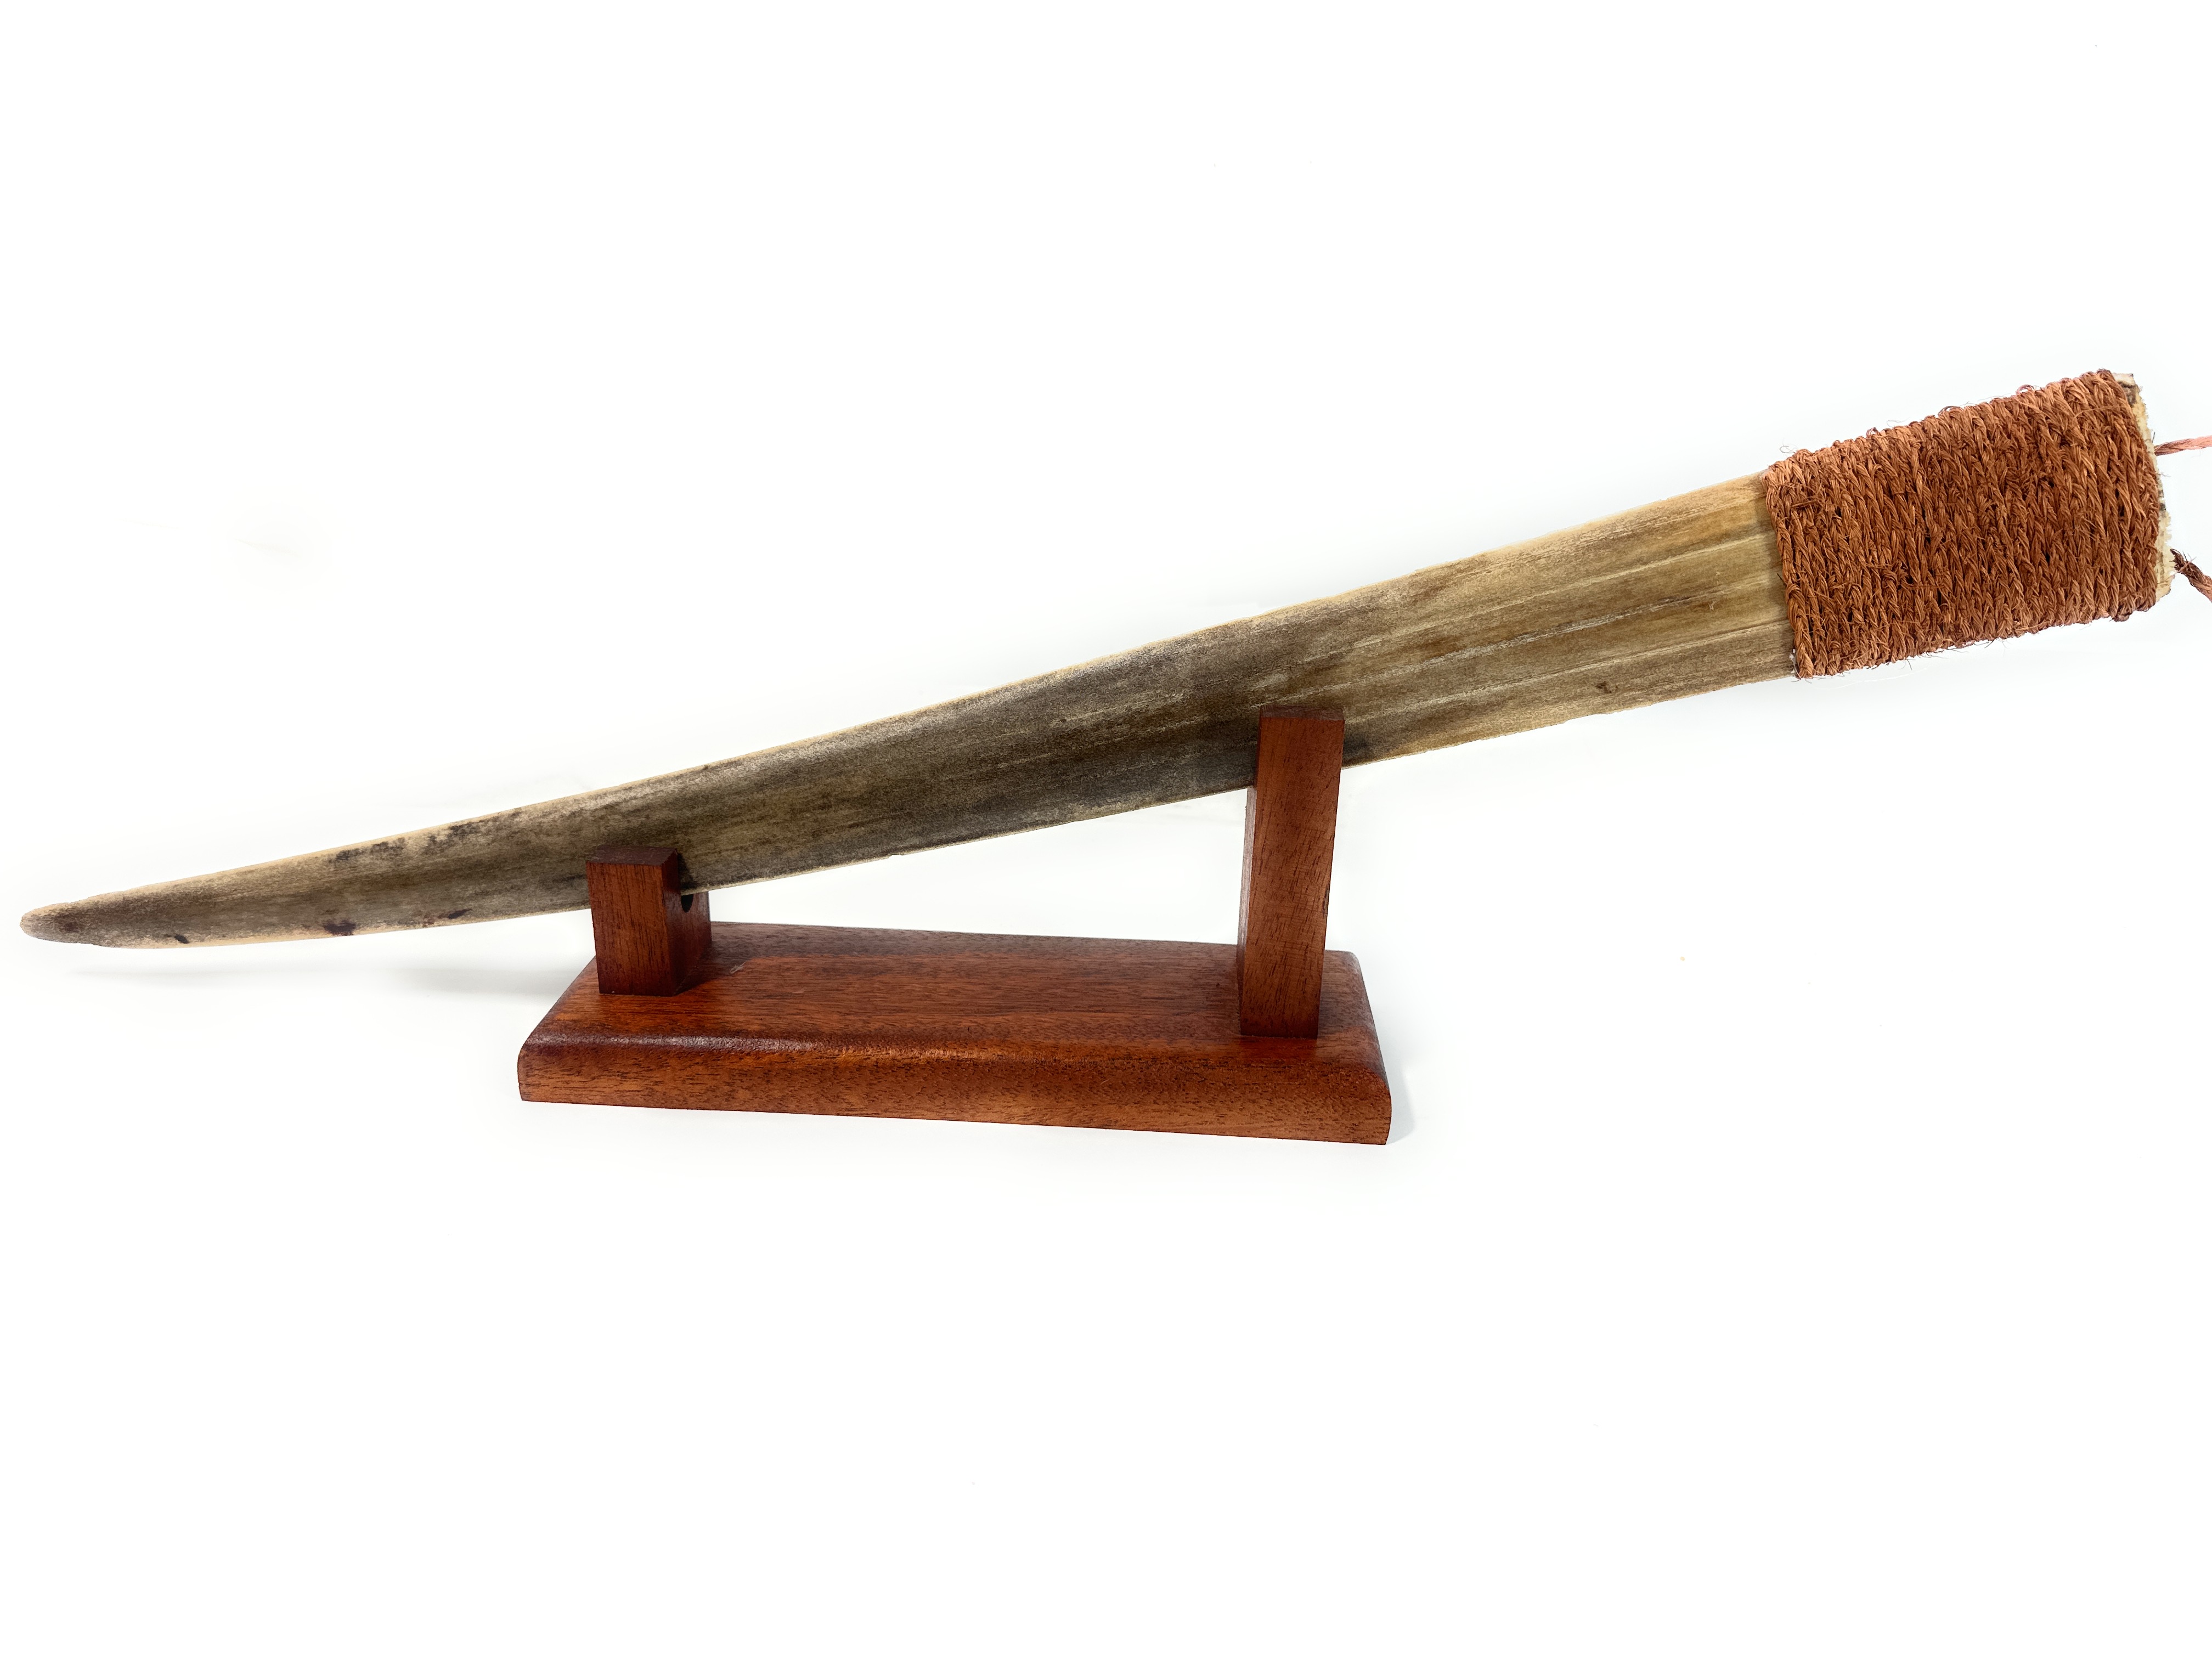
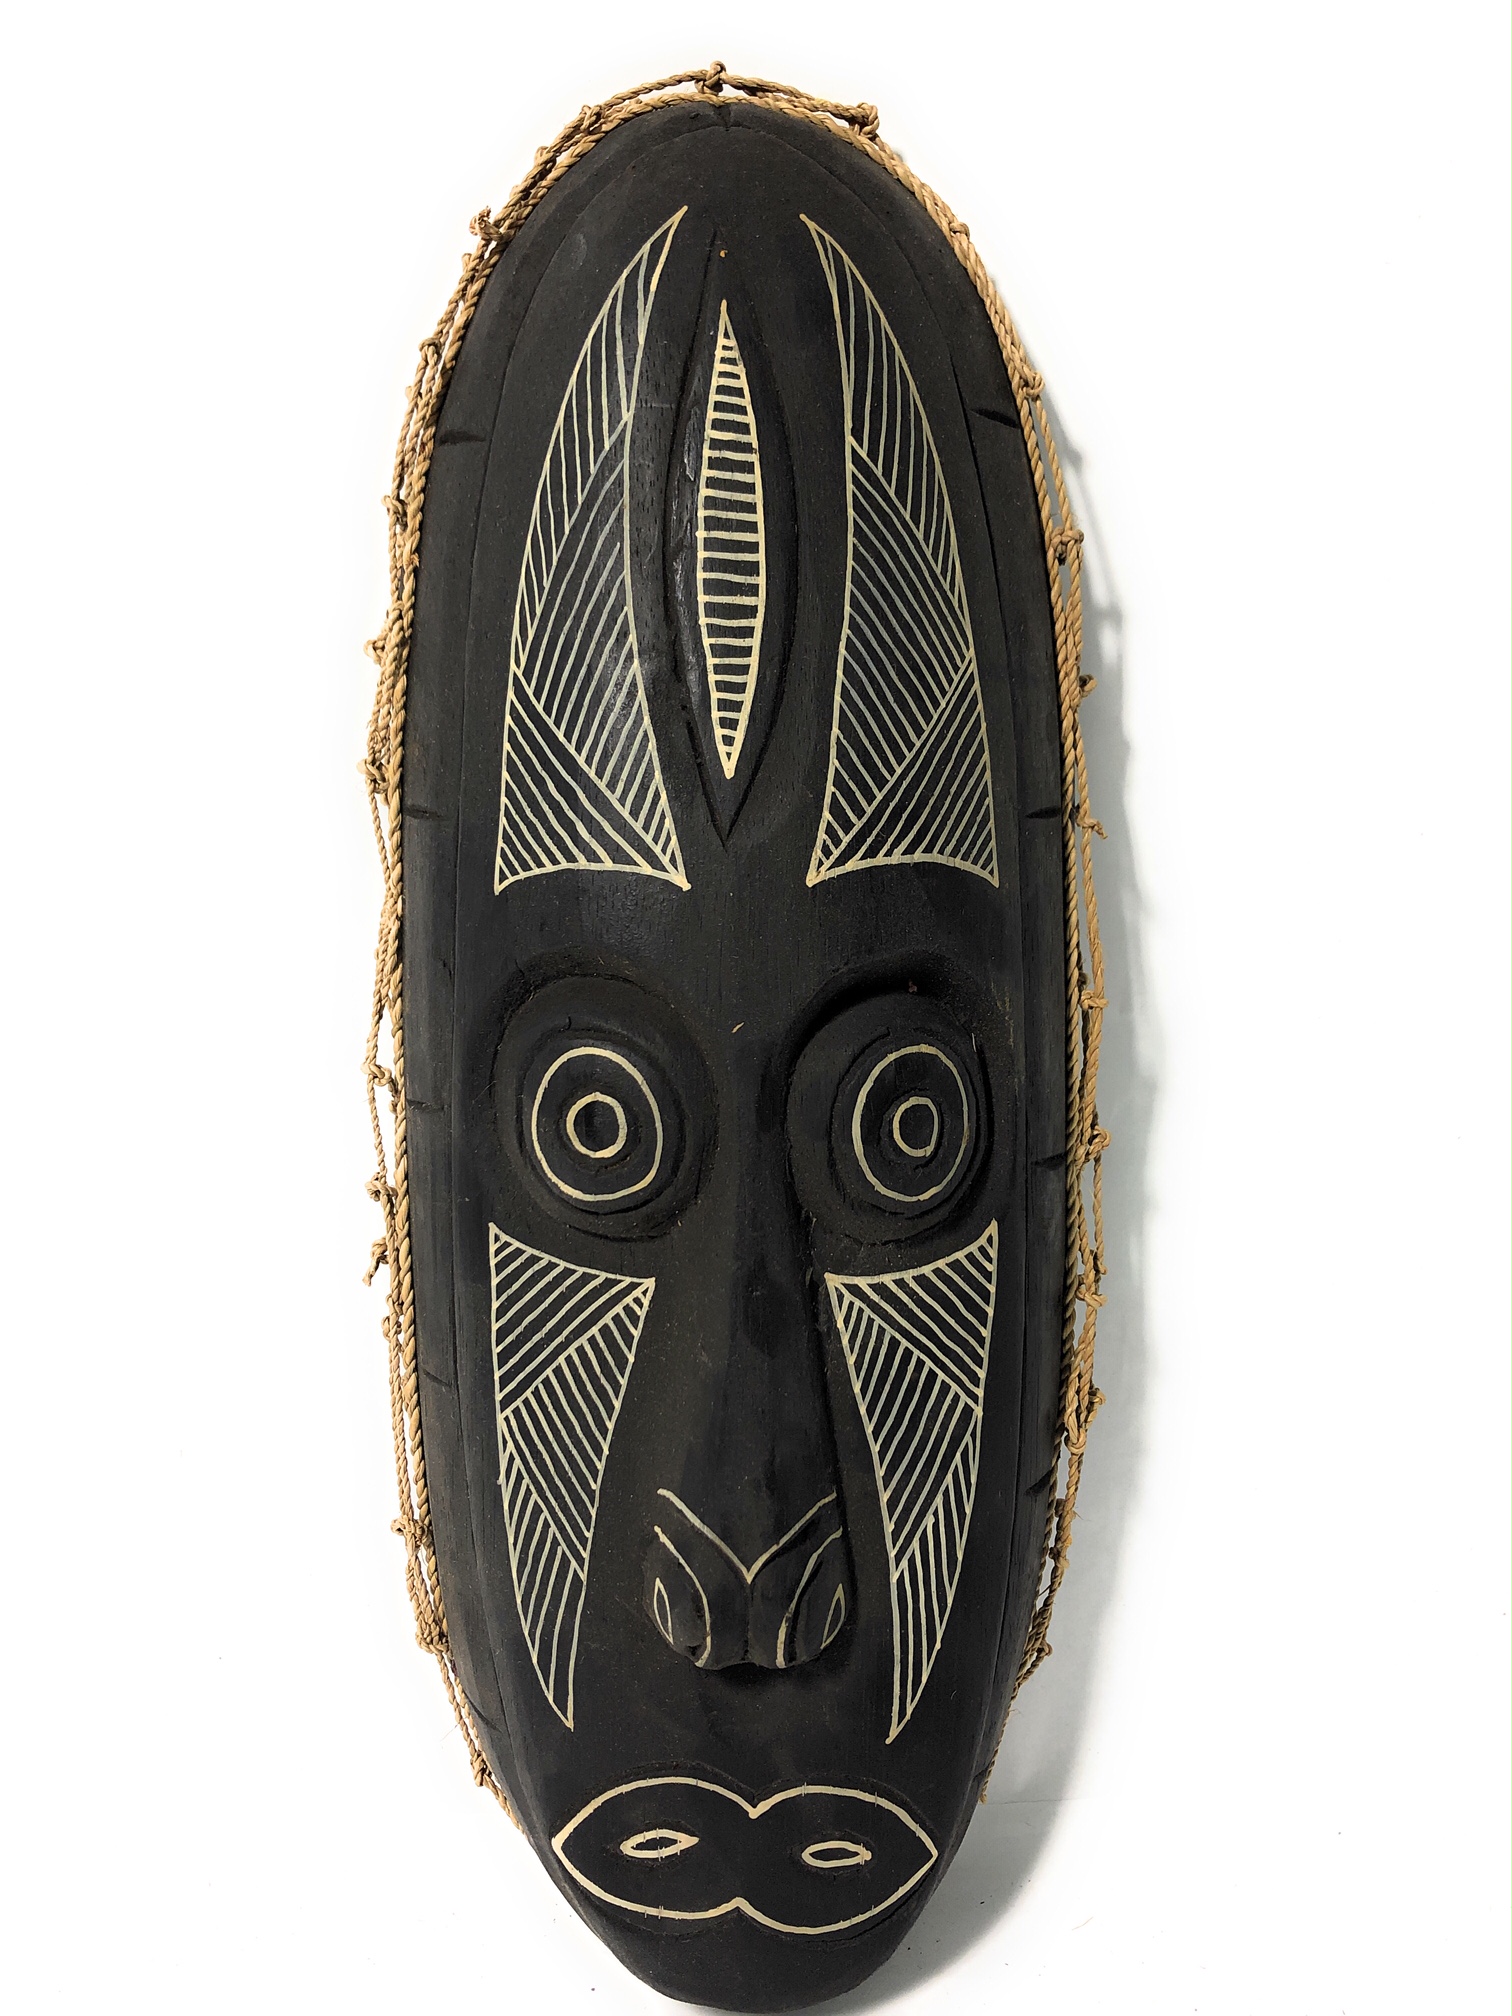
Artisans meticulously carve each mask to represent a specific deity. The designs and symbols used in these masks are not arbitrary. Wall hanging tiki masks from Easter Island carry profound meanings, often associated with protection, fertility, and prosperity.
The tradition of tiki mask-making dates back to ancient times. Polynesian people from Hawaii, French Polynesia, and other islands have shared their knowledge for many generations. They have protected their stories and beliefs.
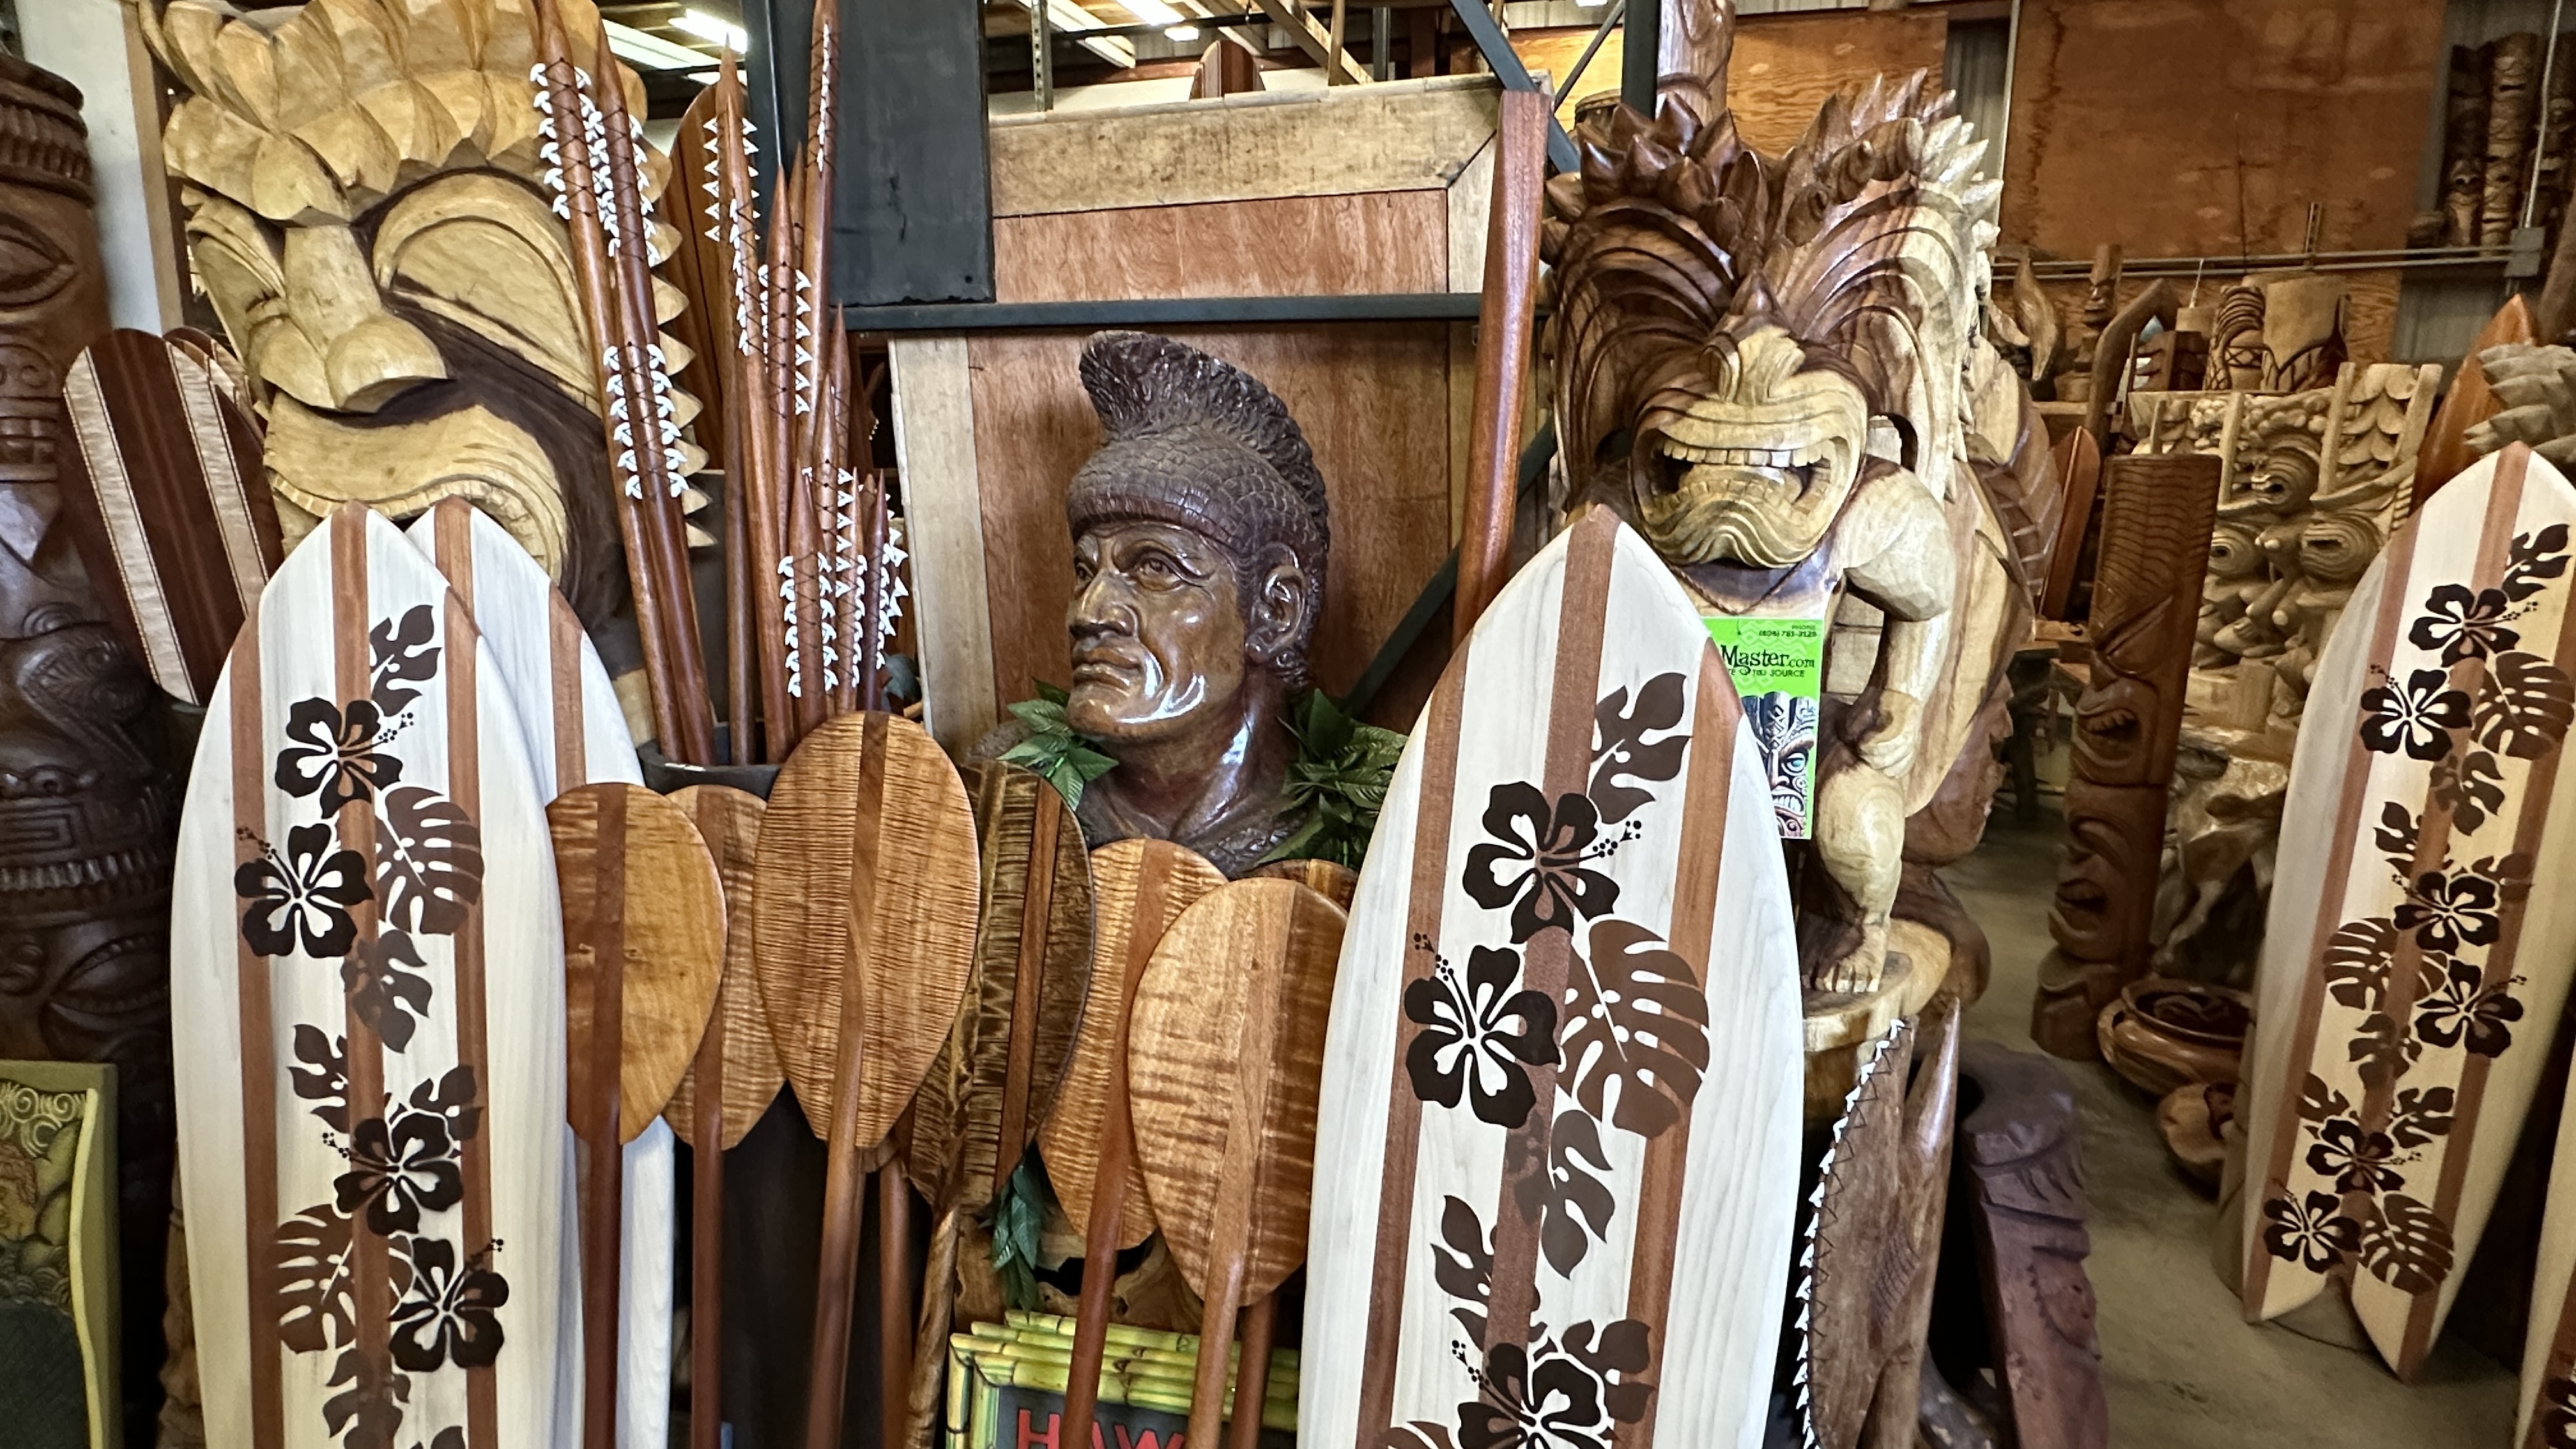
In contemporary times, tiki masks have found their place in modern Polynesian decor. They are also popular in Western culture, often seen in tropical-themed settings. Despite their modern usage, the cultural significance of these masks remains deeply respected.
Materials and Tools You Will Need
Creating a Hawaiian tiki mask requires a few essential materials and tools. Artisans traditionally use a wide range of wood as the primary material for carving these masks. Tiki carvers use popular trees like Monkeypod, Koa, white oak with either straight grain or curly grain patterns.
Here is a list of the basic materials and tools you will need:
- A block of wood or alternative carving material
- Carving tools (chisels, gouges, mallet)
- Sandpaper (various grits from coarse to fine)
- Acrylic paint (colors based on your design)
- Paintbrushes (various sizes)
- Protective gear (safety glasses, gloves)
Remember, safety is paramount when working with sharp tools. Always wear protective gear and work in a well-lit, stable environment. With the right materials and tools at hand, you're ready to embark on your tiki mask-making journey.
Selecting the Right Wood for Your Tiki Mask
Choosing the right type of wood is crucial for an authentic look and ease of carving. Artisans often carve traditional Hawaiian tiki masks from tropical hardwoods like koa or monkeypod. These woods are durable and have a beautiful grain that adds to the aesthetic of the mask.
However, these types of wood can be hard to source and expensive. As an alternative, you can use softer woods like pine or basswood, which are easier to carve and more affordable. Regardless of the type of wood you choose, ensure it is dry and free of knots for the best carving experience.
Understanding Tiki Mask Symbolism and Designs
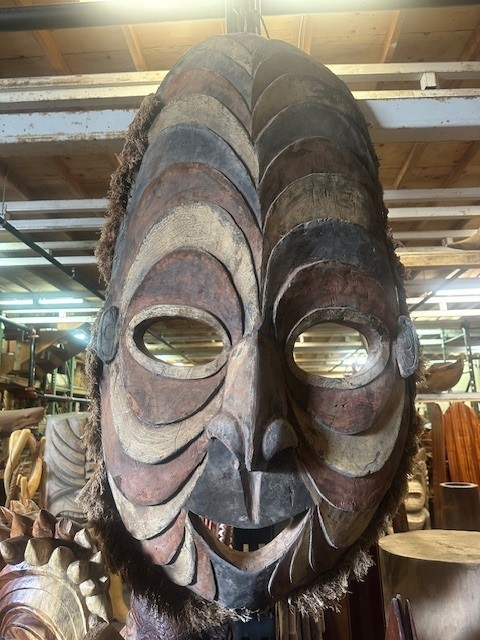
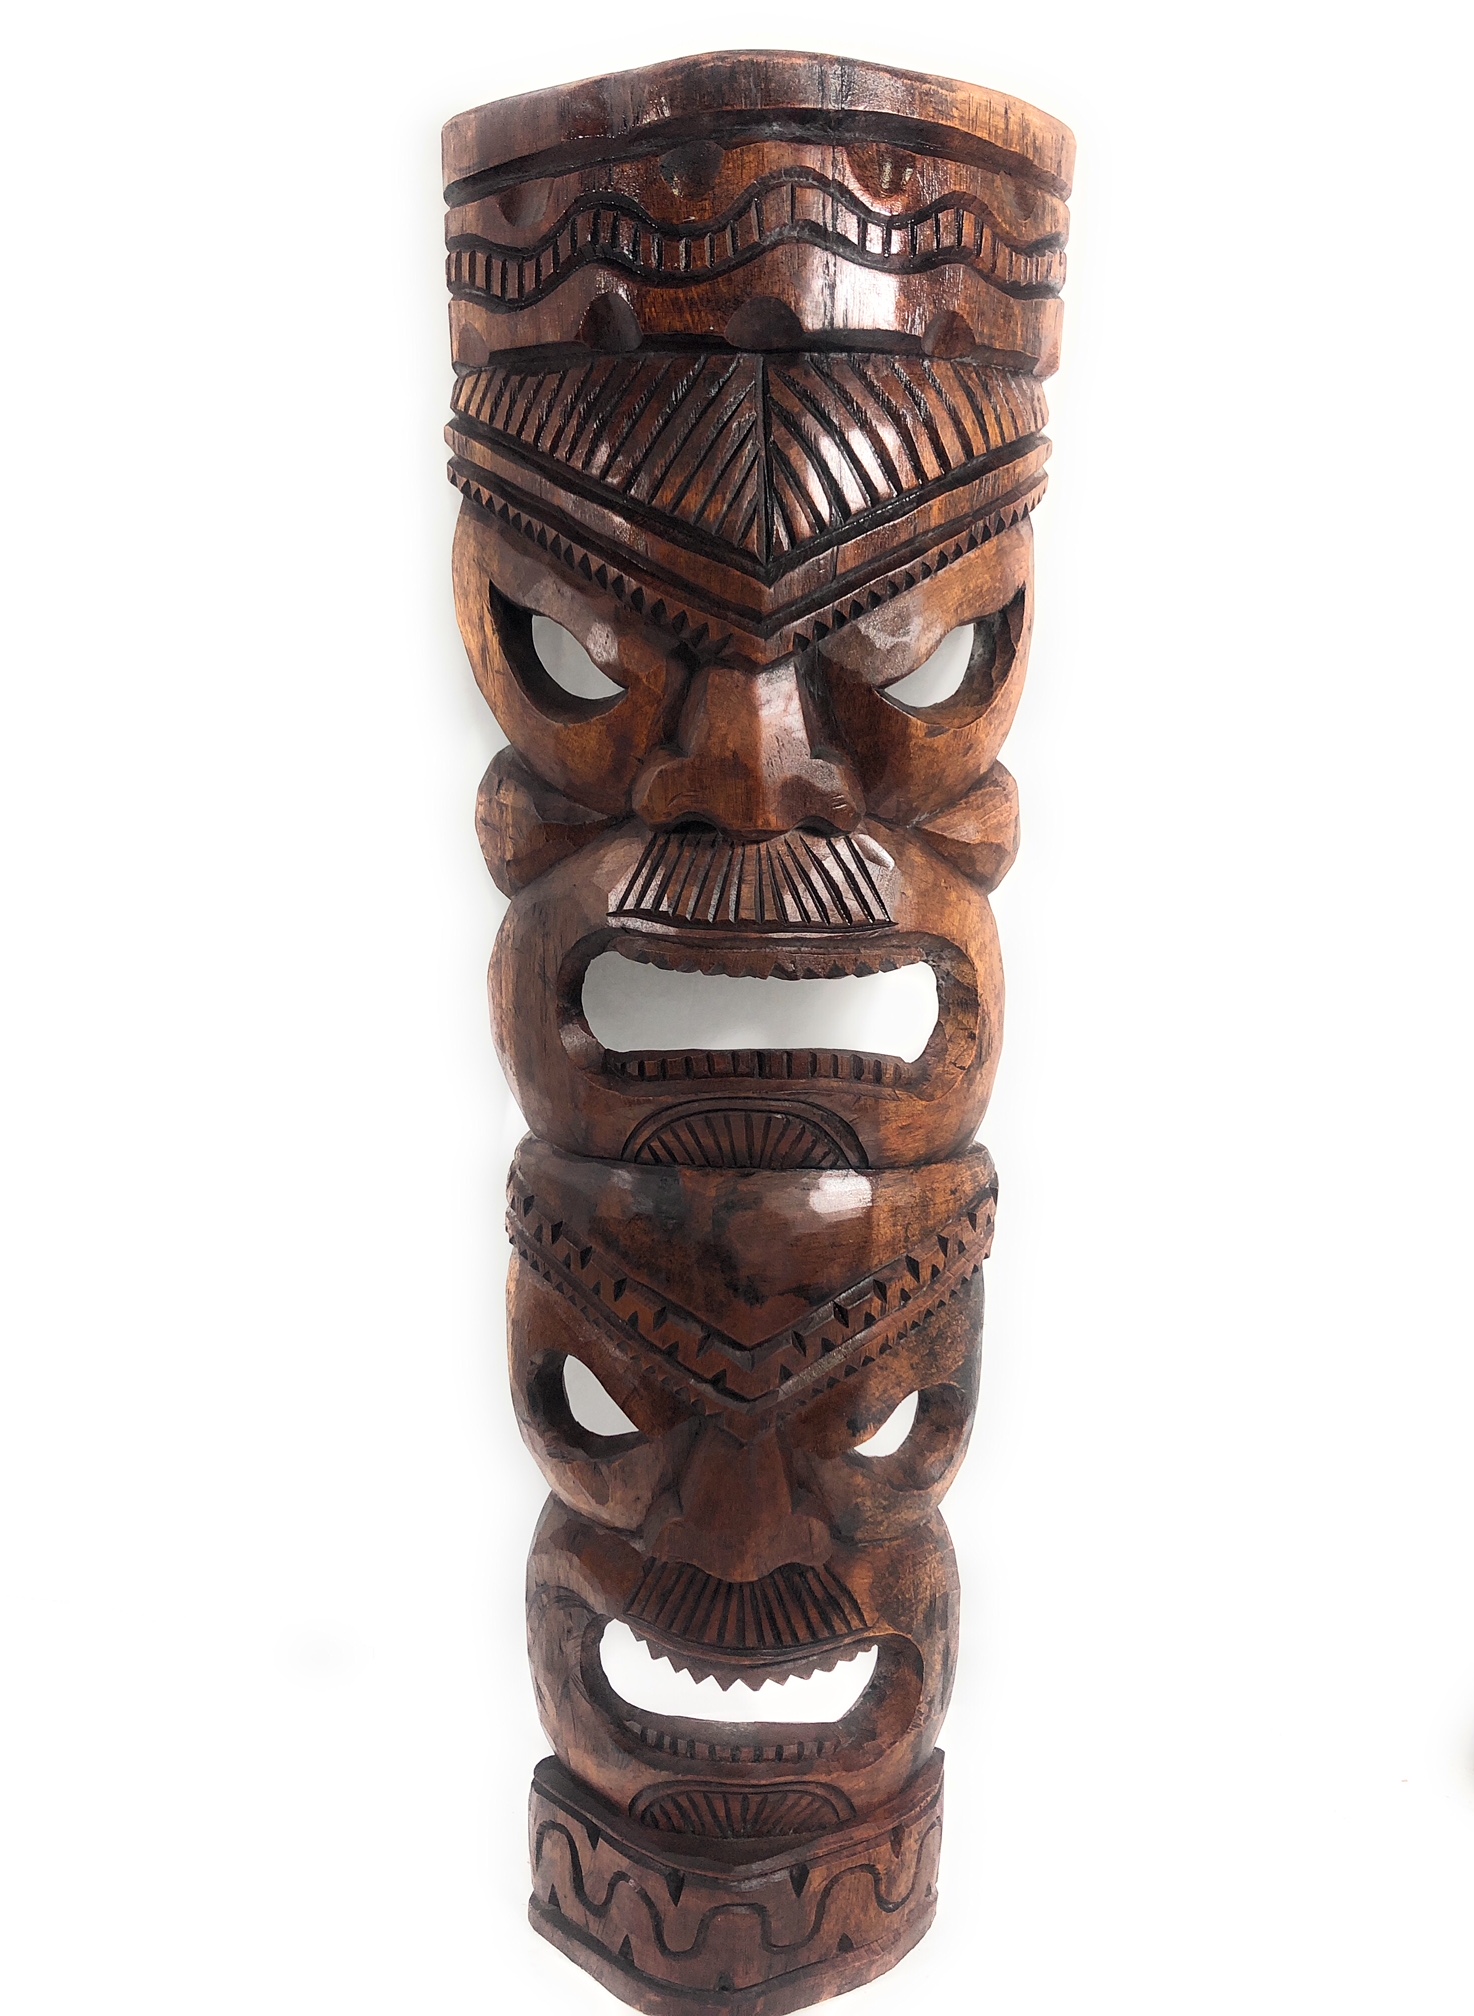
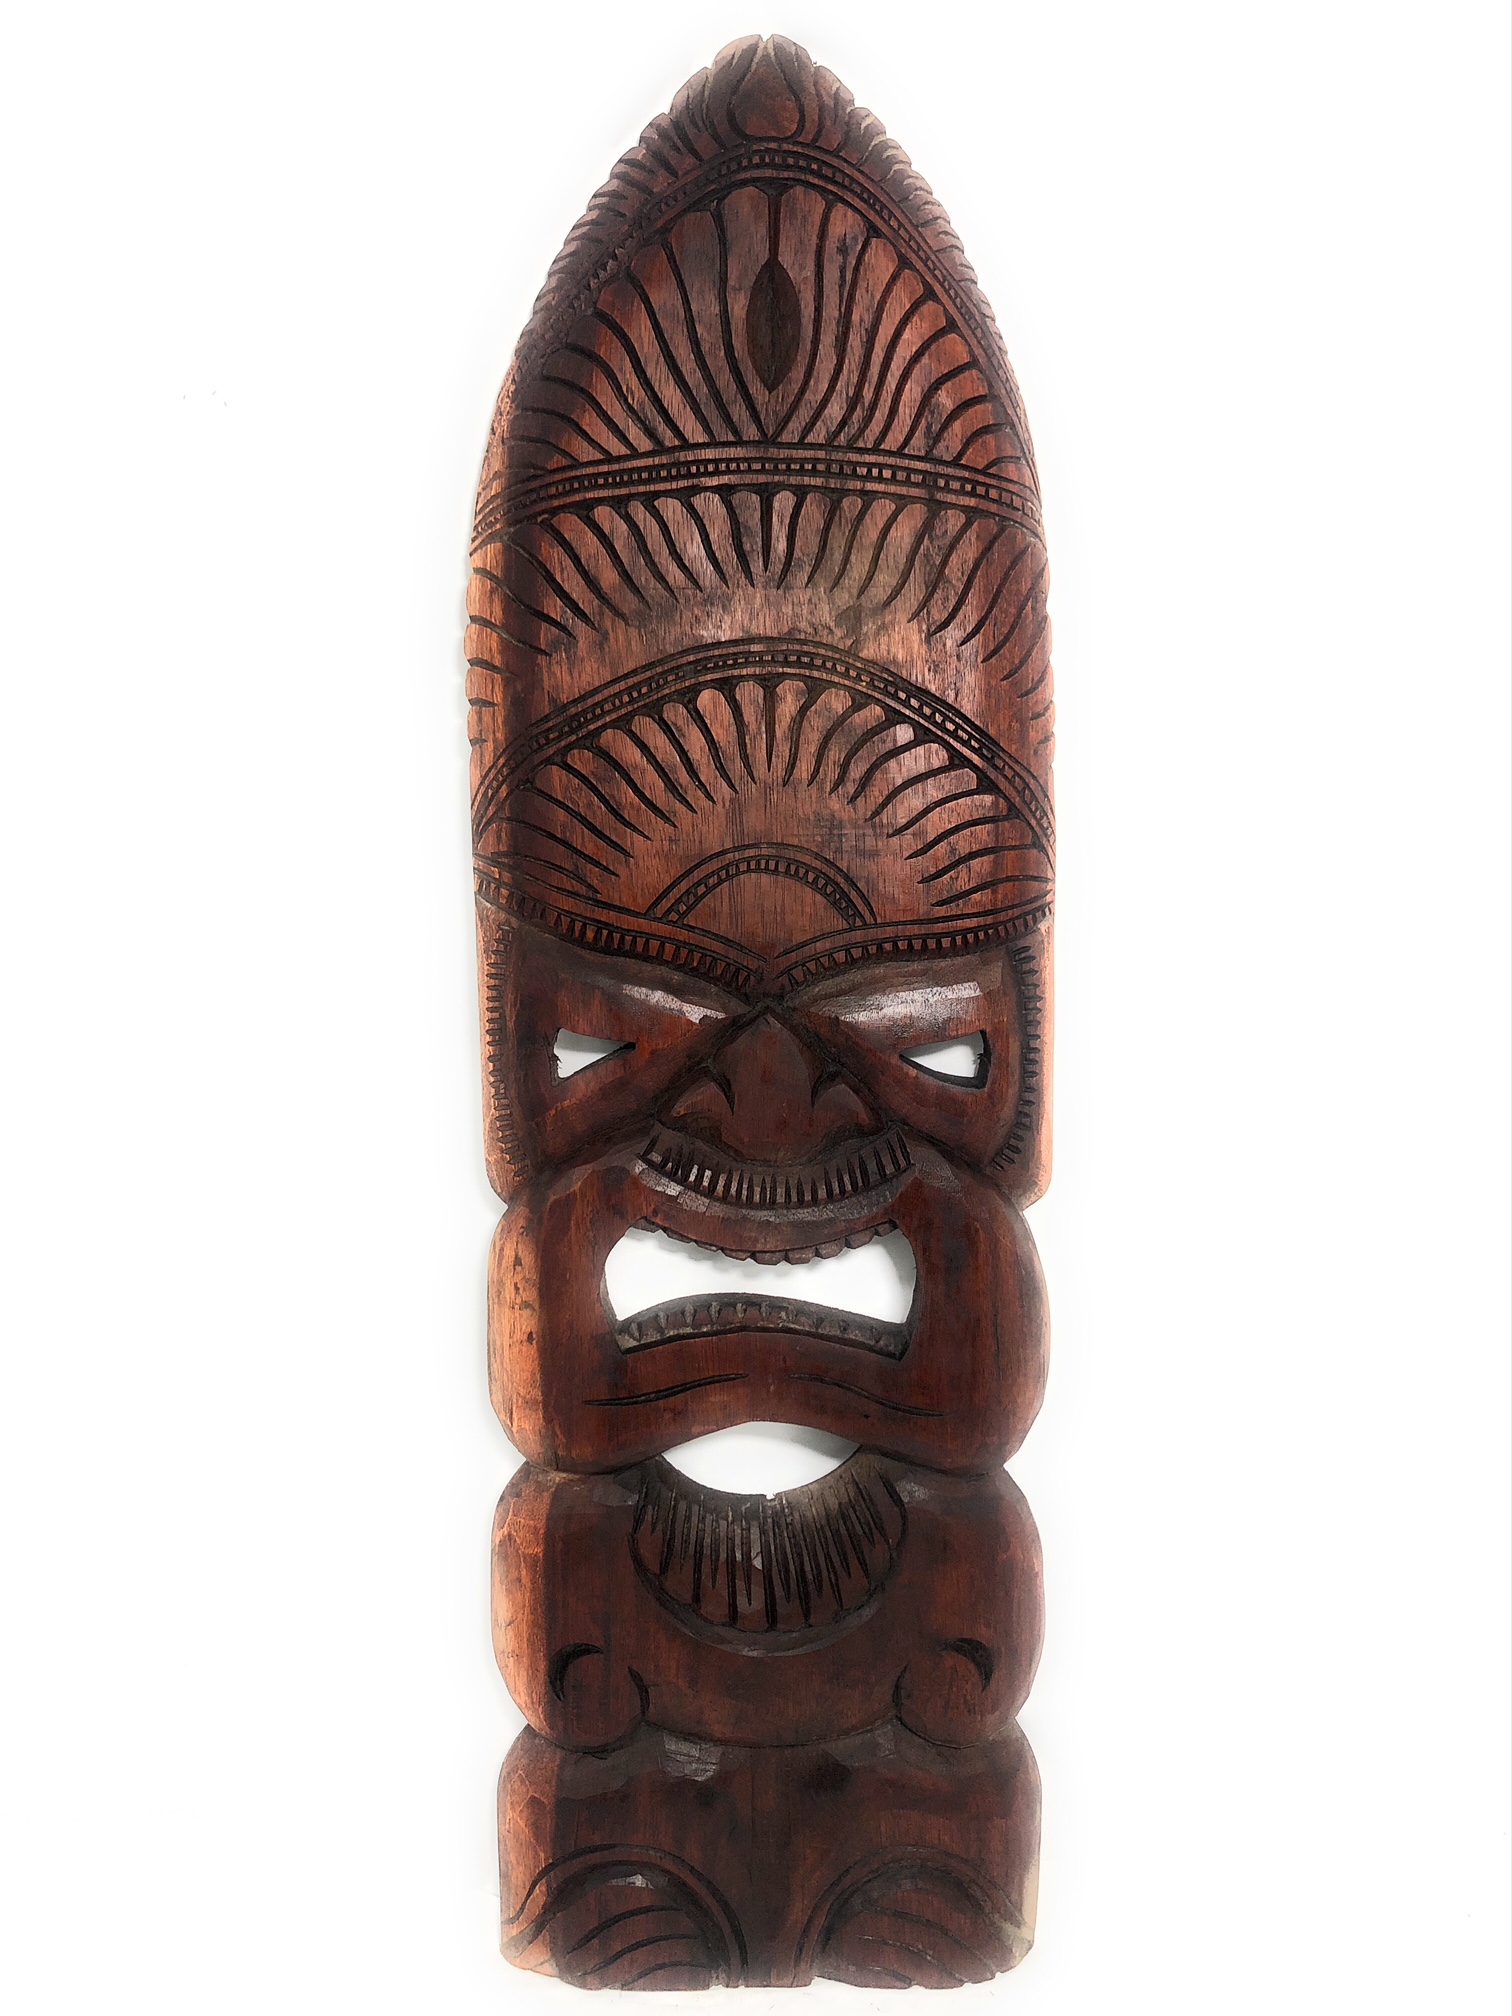
Tiki masks are rich in symbolism, with each design element carrying a specific meaning. They often represent various deities in Polynesian mythology, believed to offer protection and bring good fortune. Tiki masks have exaggerated facial features like big eyes, nose, and mouth, each with a special meaning.
For example, people say that a tiki mask with protruding eyes symbolizes the deity's watchfulness over the people. A big nose can show a strong sense of smell, representing the god's ability to detect danger or problems. The mouth, shown open or with teeth, can symbolize the god talking to people or the warrior spirit.
Understanding these symbols and their meanings can help you choose a design that resonates with you. You can choose a tiki mask to represent protection, wealth, or any other meaning.
There are many designs available to express your desired symbolism. Each design can accurately convey the message you want to portray. It's important to respect traditional designs, but feel free to add your own creativity to your tiki mask project.
Sketching Your Design: The First Step to Carving
Once you've chosen your design, the next step is to sketch it onto your chosen piece of wood. This is a crucial step in the mask-making process, as it serves as your guide during the carving stage. Use a pencil to lightly draw the outline of the mask and its features, ensuring that the design is symmetrical and balanced.

Remember, the sketch doesn't have to be perfect. It's merely a guide to help you carve the mask. As you gain more experience, you'll find that your sketching skills improve along with your carving skills.
Carving Techniques for Creating Facial Features
Carving the facial features of your tiki mask is where your design truly comes to life. Start by carving out the larger areas first, such as the eyes and mouth. This will help you establish the overall depth and dimension of the mask.
Next, move on to the smaller details, such as the nose, eyebrows, and any decorative elements in your design. Remember to carve with the grain of the wood to avoid splintering or damaging your piece.
Finally, take your time during this process. Carving is a skill that requires patience and precision. With practice, you will get better at carving detailed tiki masks that look realistic.
Sanding and Smoothing: Preparing for Decoration
Once you've finished carving your tiki mask, the next step is to sand and smooth the surface. Preparing the mask by smoothing it is important for decorating. It helps the paint and decorations stick better.
Start with a coarse-grit sandpaper to remove any rough edges or carving marks. Then, gradually move to finer grits to achieve a smooth finish. Remember to always sand in the direction of the wood grain to avoid scratches. This process may take some time, but the result will be a beautifully smooth tiki mask ready for decoration.
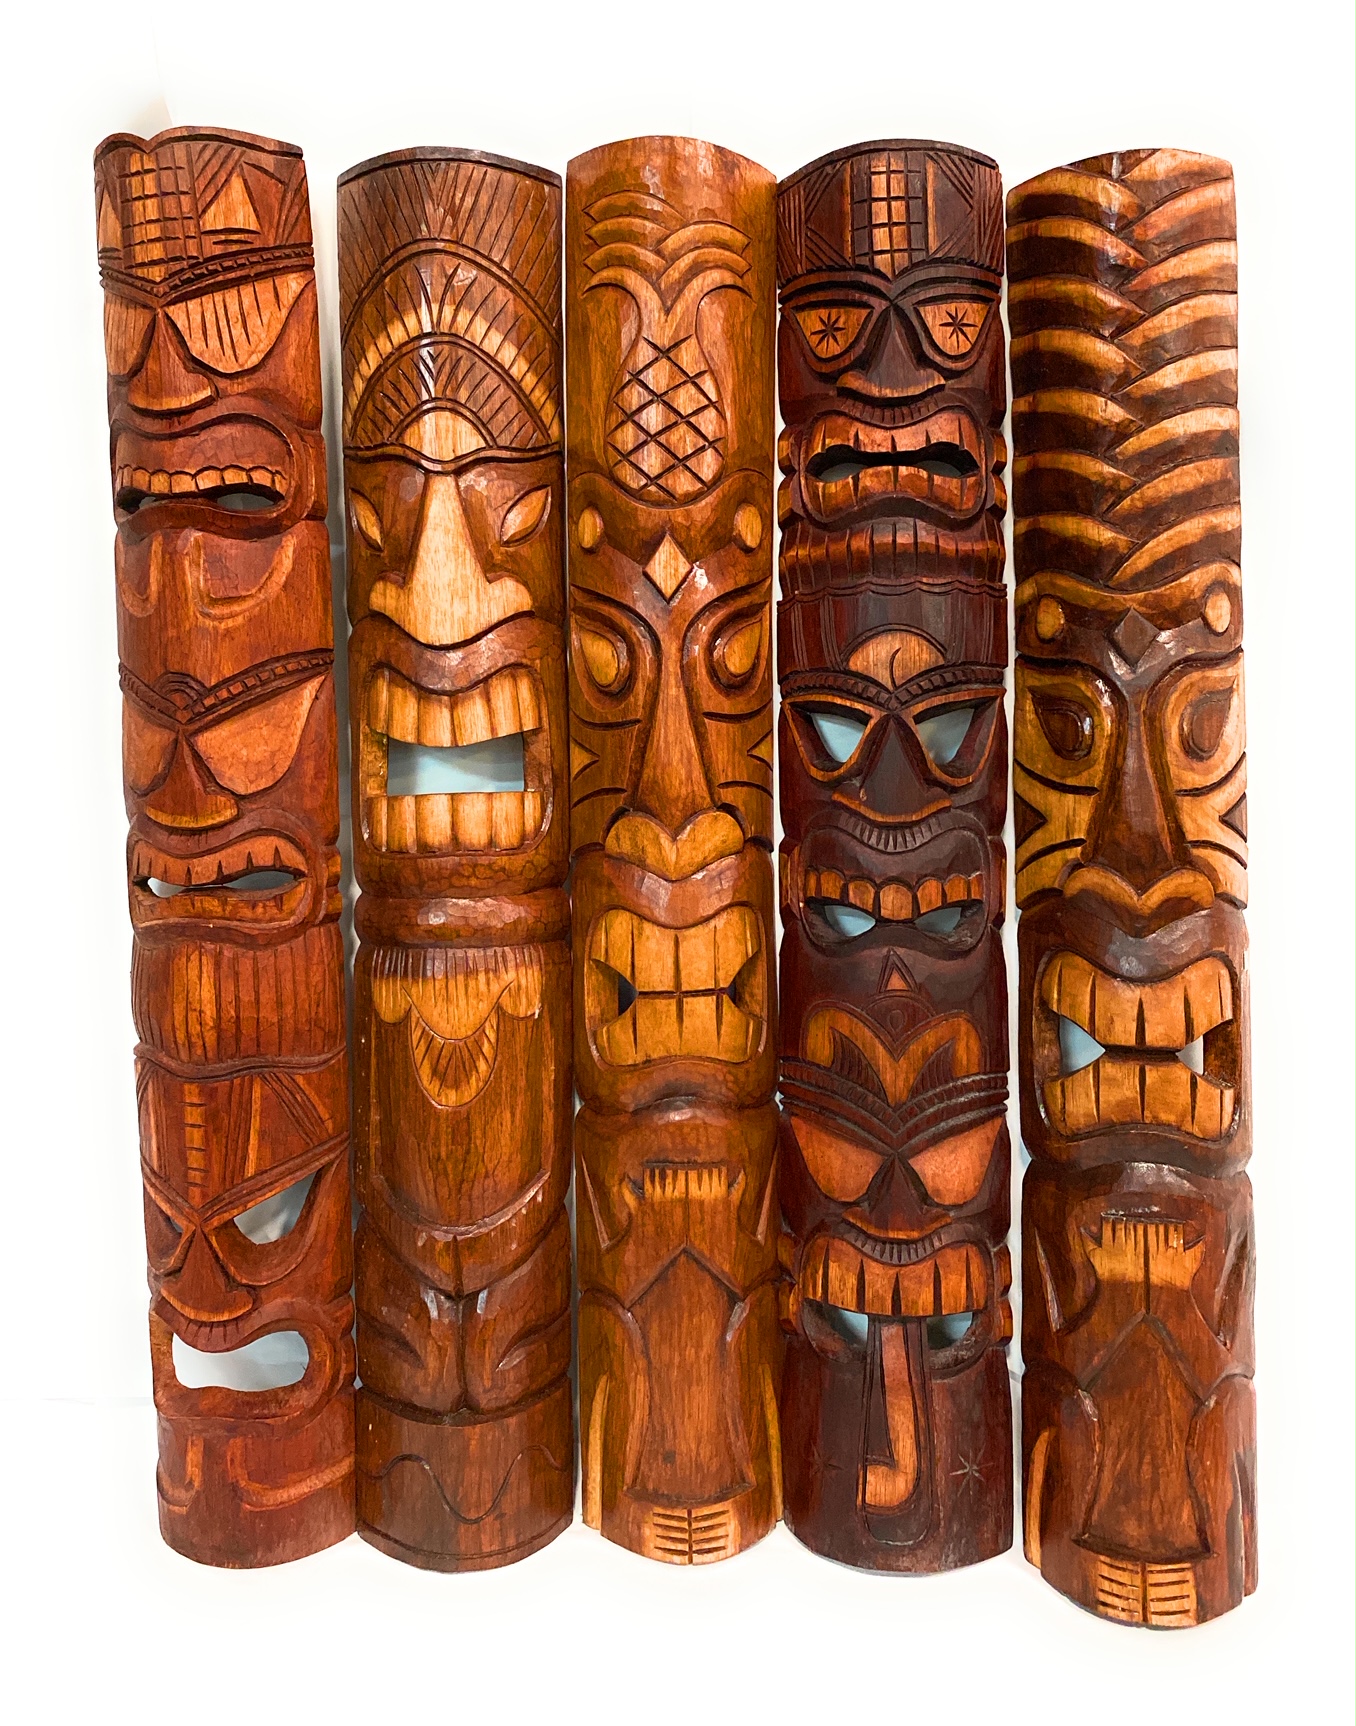
Painting Your Tiki Mask: Colors and Patterns
Now that your tiki mask is smooth and ready, it's time to bring it to life with color. Traditional Hawaiian tiki masks often feature bold, vibrant colors that reflect the natural beauty of the islands.
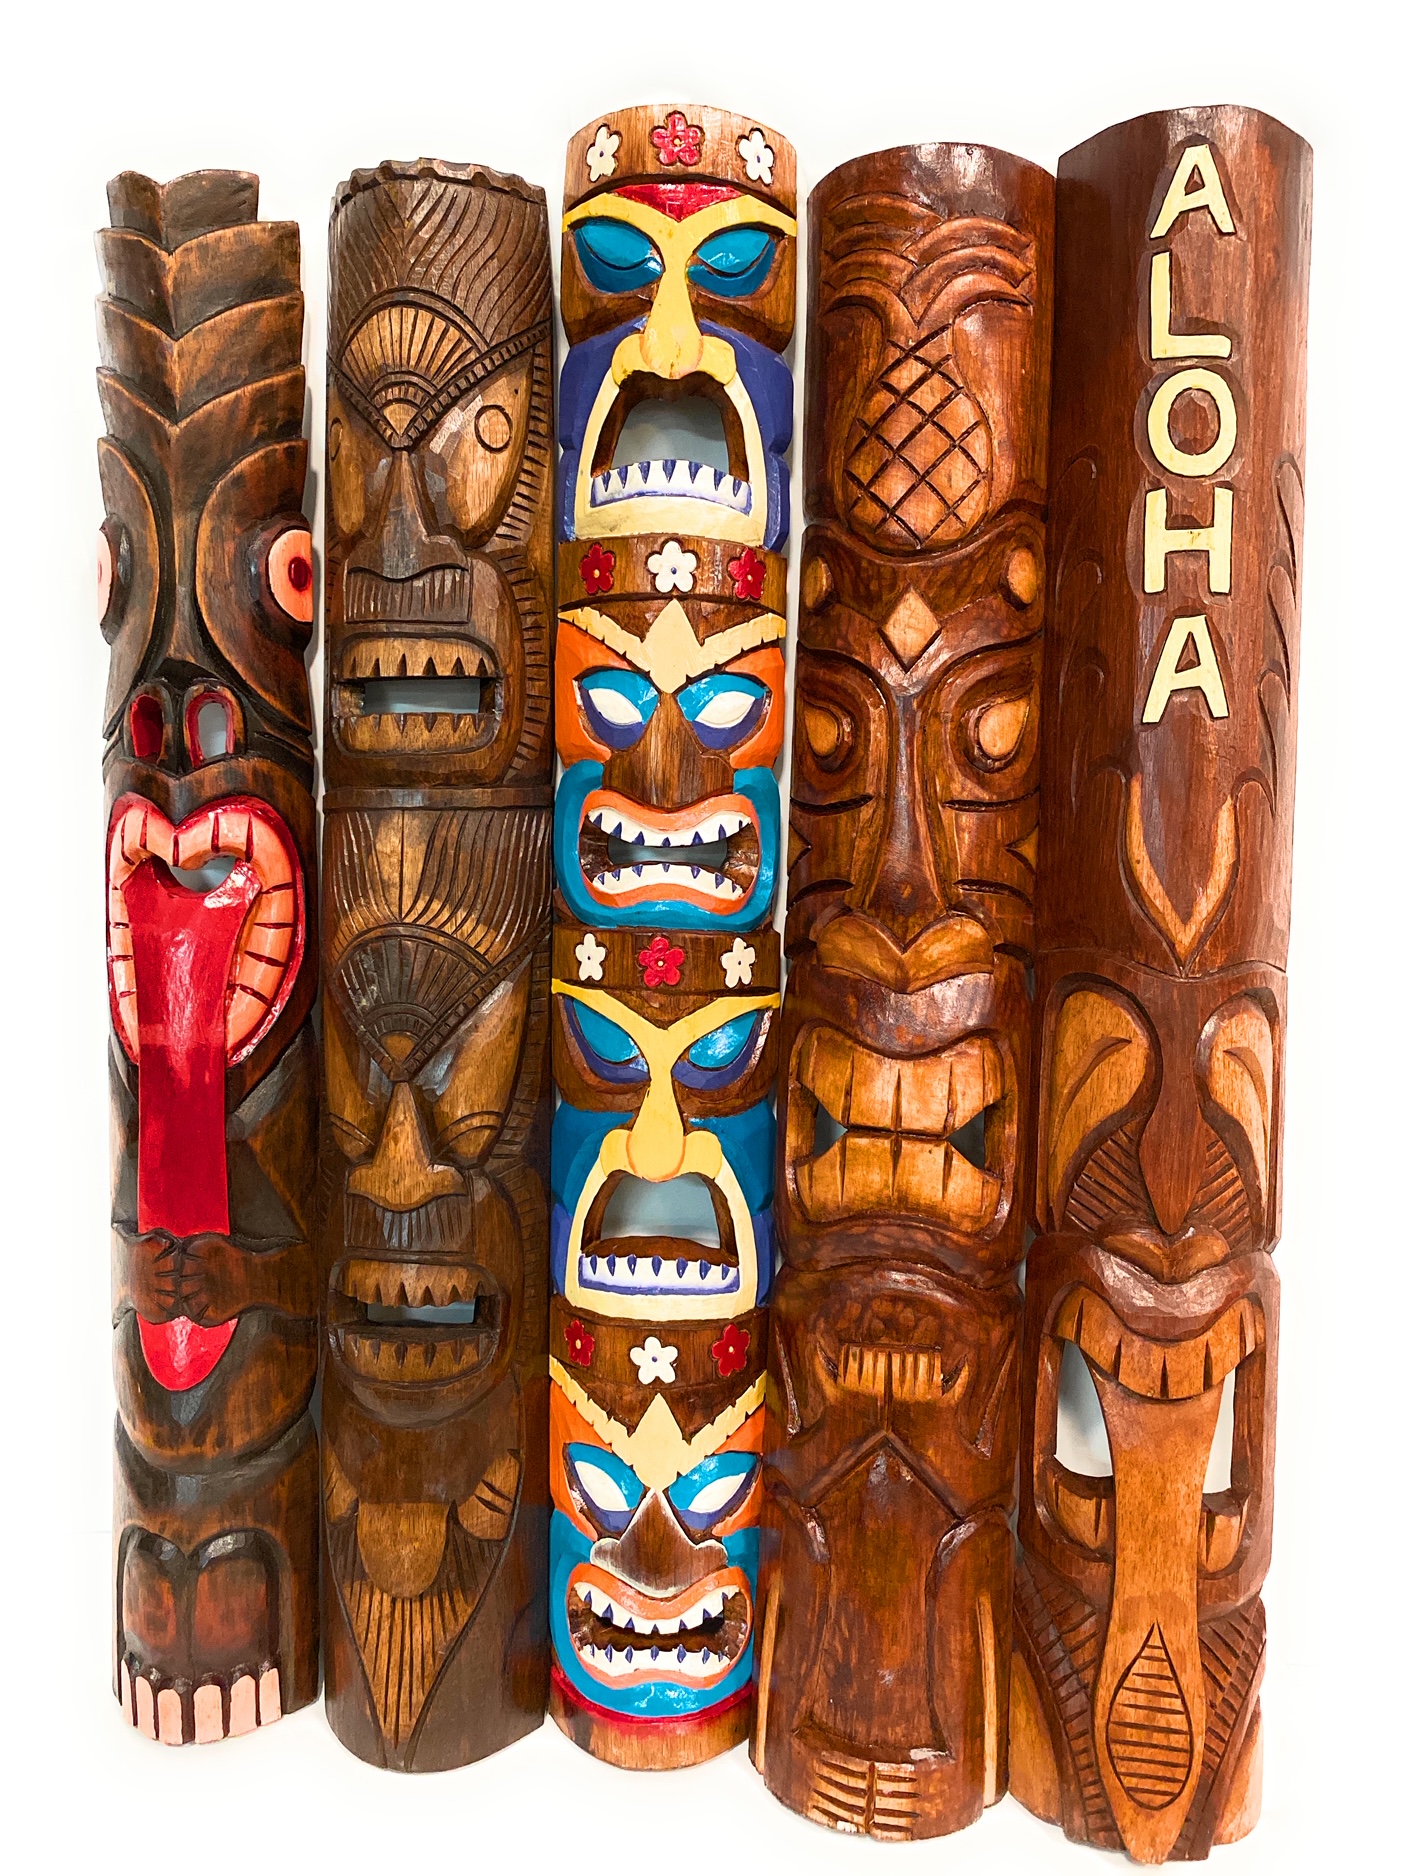
Start by choosing your color palette. Consider the symbolism of different colors in Polynesian culture. For example, red often represents power and strength, while green symbolizes fertility and growth. Use these colors to enhance the meaning of your mask.
Apply your paint with care, taking your time to fill in the carved details. You may want to use a smaller brush for intricate areas. Once the paint is dry, you can add patterns or motifs inspired by traditional Polynesian designs. This final touch will give your tiki mask a truly authentic look.
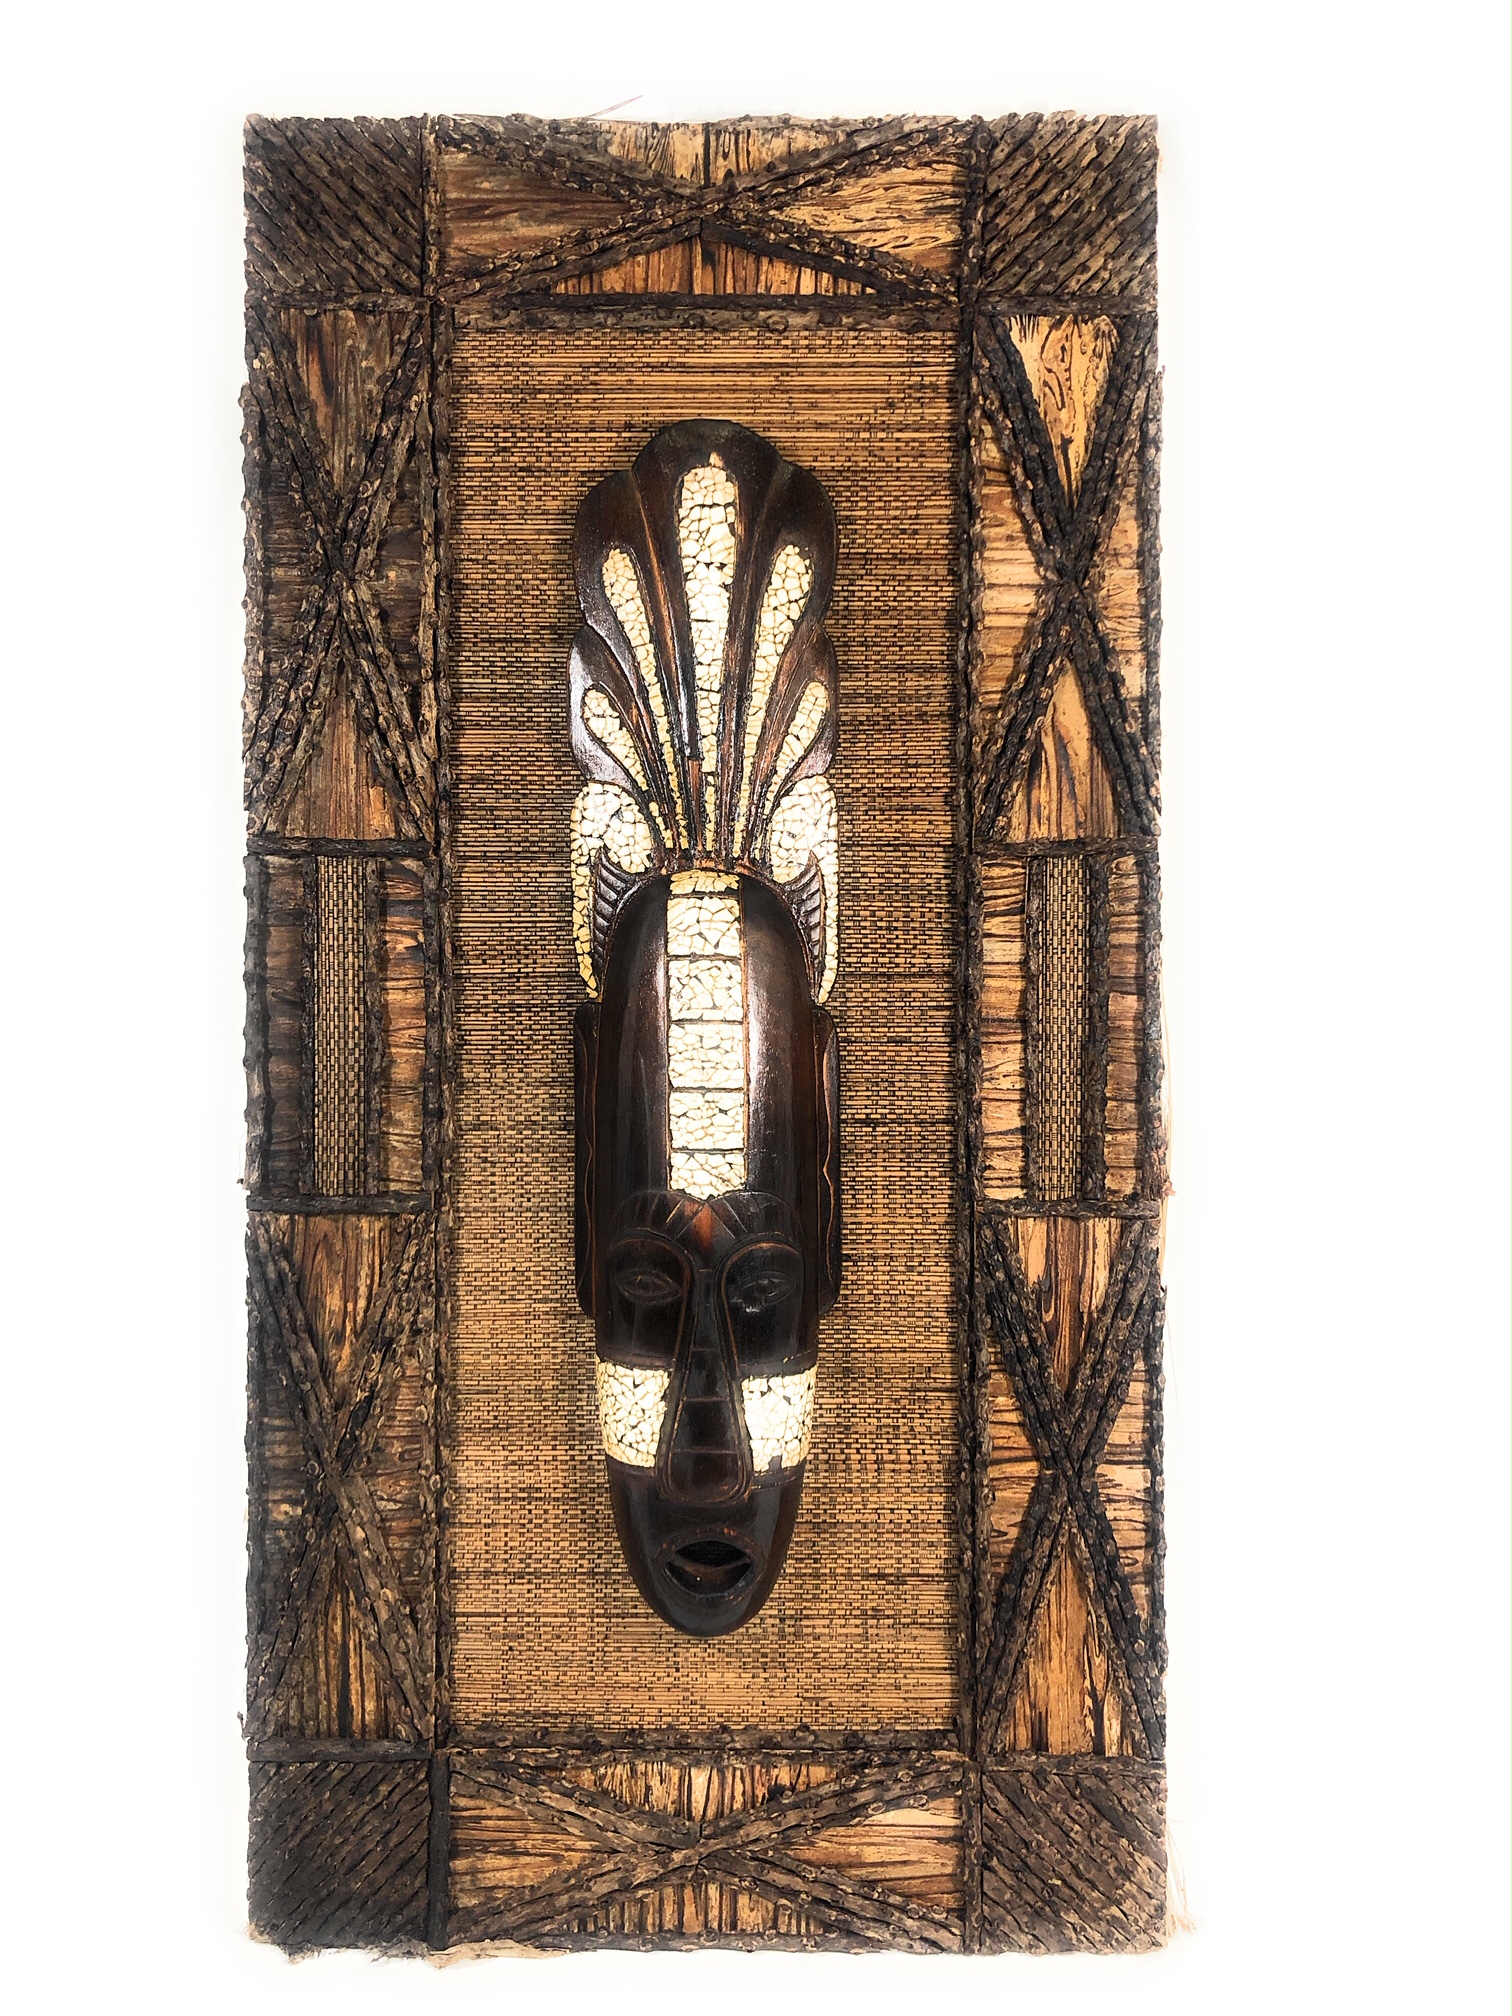
Adding Decorative Elements for Authenticity
To further enhance the authenticity of your tiki mask, consider adding decorative elements. Traditional Polynesian decor often uses shells, feathers, or stones.
Each element you add to your mask should have a purpose and contribute to its overall design and symbolism. For example, shells can symbolize the ocean, a crucial part of Polynesian life. Be creative, but also respectful of the cultural significance of these elements.
Preserving Your Tiki Mask: Treatment and Care
Once your tiki mask is complete, it's important to preserve and care for it properly. This will ensure its longevity and maintain its vibrant colors and intricate details.
Consider treating the wood with a sealant or varnish to protect it from damage. Regular dusting and cleaning will also keep your mask looking its best. Don't forget, your tiki mask is more than just decoration. It embodies a valuable cultural heritage that people should treat with respect and care.
Displaying Your Hawaiian Tiki Mask in Home Decor
Now that you've created your own Hawaiian tiki mask, it's time to find the perfect spot for it in your home. Displaying your mask can add a unique touch of Polynesian decor to your space.
Please consider placing your mask in a prominent location where you can appreciate it. You can display your tiki mask on a wall, shelf, or outside. It shows your skill and love for Polynesian culture, sparking conversations with others.
Respecting Cultural Heritage in Your Craft
Creating a Hawaiian tiki mask goes beyond a simple craft project. It is a way to honor and engage with Polynesian culture.
Connecting with this culture through the art of mask-making is important. It allows for a deeper appreciation and understanding of the traditions and beliefs of the Polynesian people. It's important to approach this task with respect and understanding of its cultural significance.
Remember, each design and symbol on a tiki mask has a specific meaning in Polynesian culture. When choosing your design, consider the history and symbolism behind it. This will enhance your crafting experience and make sure your mask respects the culture.
Finally, while it's great to add a personal touch to your mask, try to maintain the traditional elements. This balance between personal expression and cultural authenticity is what makes crafting a tiki mask a truly rewarding experience.
Conclusion: The Joy of Creating Your Own Tiki Mask
Crafting your own Hawaiian tiki mask is a journey of cultural exploration, artistic expression, and personal accomplishment. When you display your finished mask, you will have a unique Polynesian decoration. It will also connect you to a vibrant culture.