Restoring a 20-foot hand-carved wooden outrigger canoe from Hawaii is both a challenging and rewarding endeavor. These traditional canoes, known for their unique designs and rich history, are not only beautiful pieces of craftsmanship but also hold cultural significance. In this article, we will guide you through the essential steps and considerations involved in restoring these magnificent vessels to their former glory.

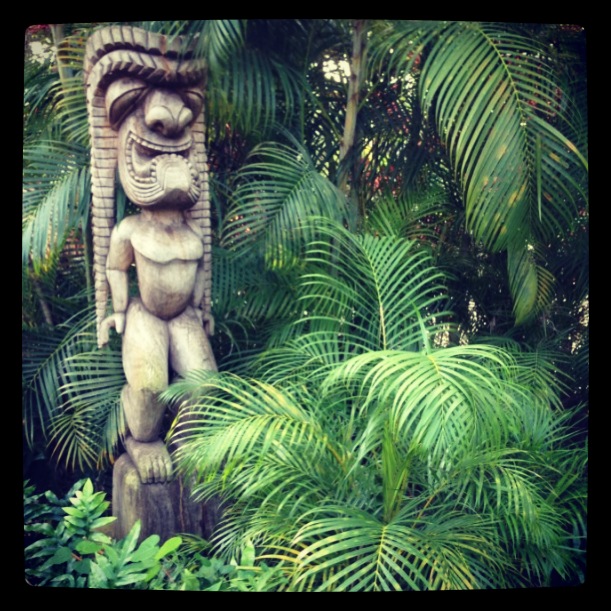
Hawaiian outrigger canoes have been a vital part of Polynesian culture for centuries. They were originally used for fishing, transportation, and exploration across the Pacific Ocean. Each canoe is intricately carved from a single log, typically from native koa wood, which is highly valued for its strength and beauty.
Restoring a wooden outrigger canoe is not just about preserving a functional watercraft but also about honoring its cultural heritage. Understanding the history and significance of these canoes can provide valuable context as you embark on the restoration process.
Assessing the Condition of Your Canoe
Before beginning any restoration work, it's crucial to thoroughly assess the condition of your canoe. This involves examining the hull, outrigger, and other components for any signs of damage, rot, or wear.
Hull Inspection

The hull is the most critical part of the canoe, and its condition will determine the extent of the restoration needed. Look for cracks, splits, or rot in the wood. Pay particular attention to areas where the wood may have been exposed to water for extended periods, as these are prone to deterioration.
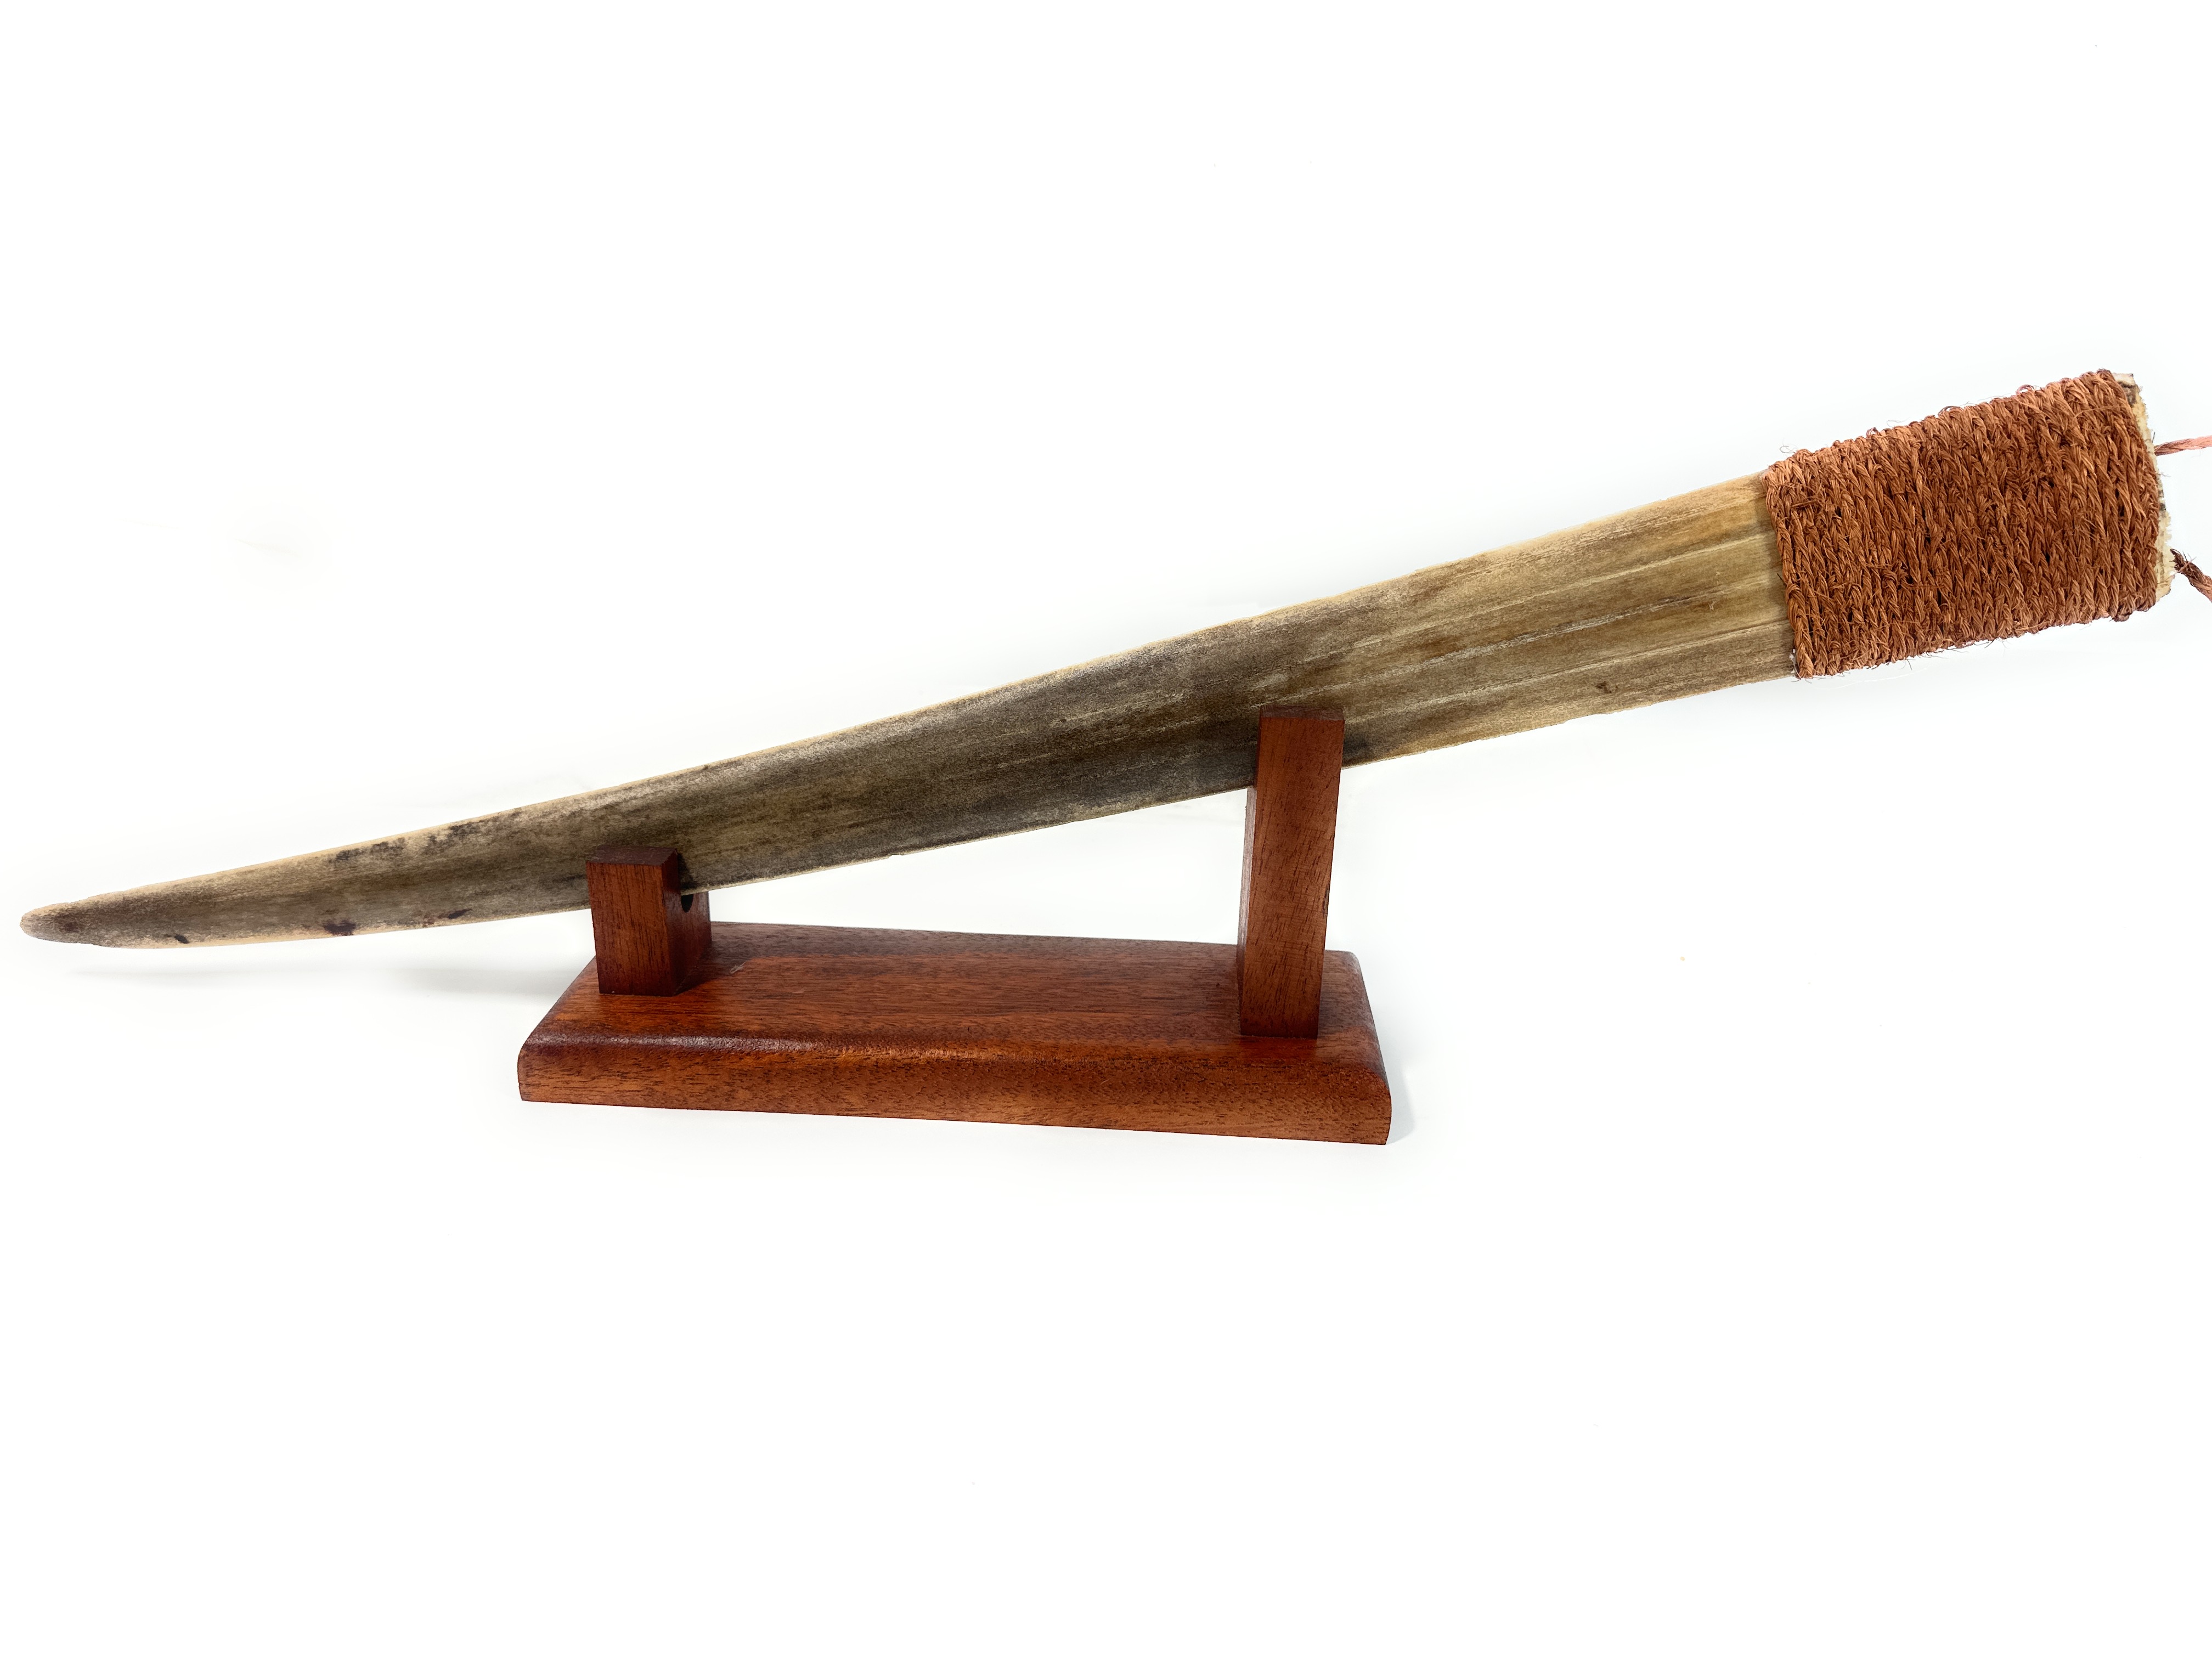
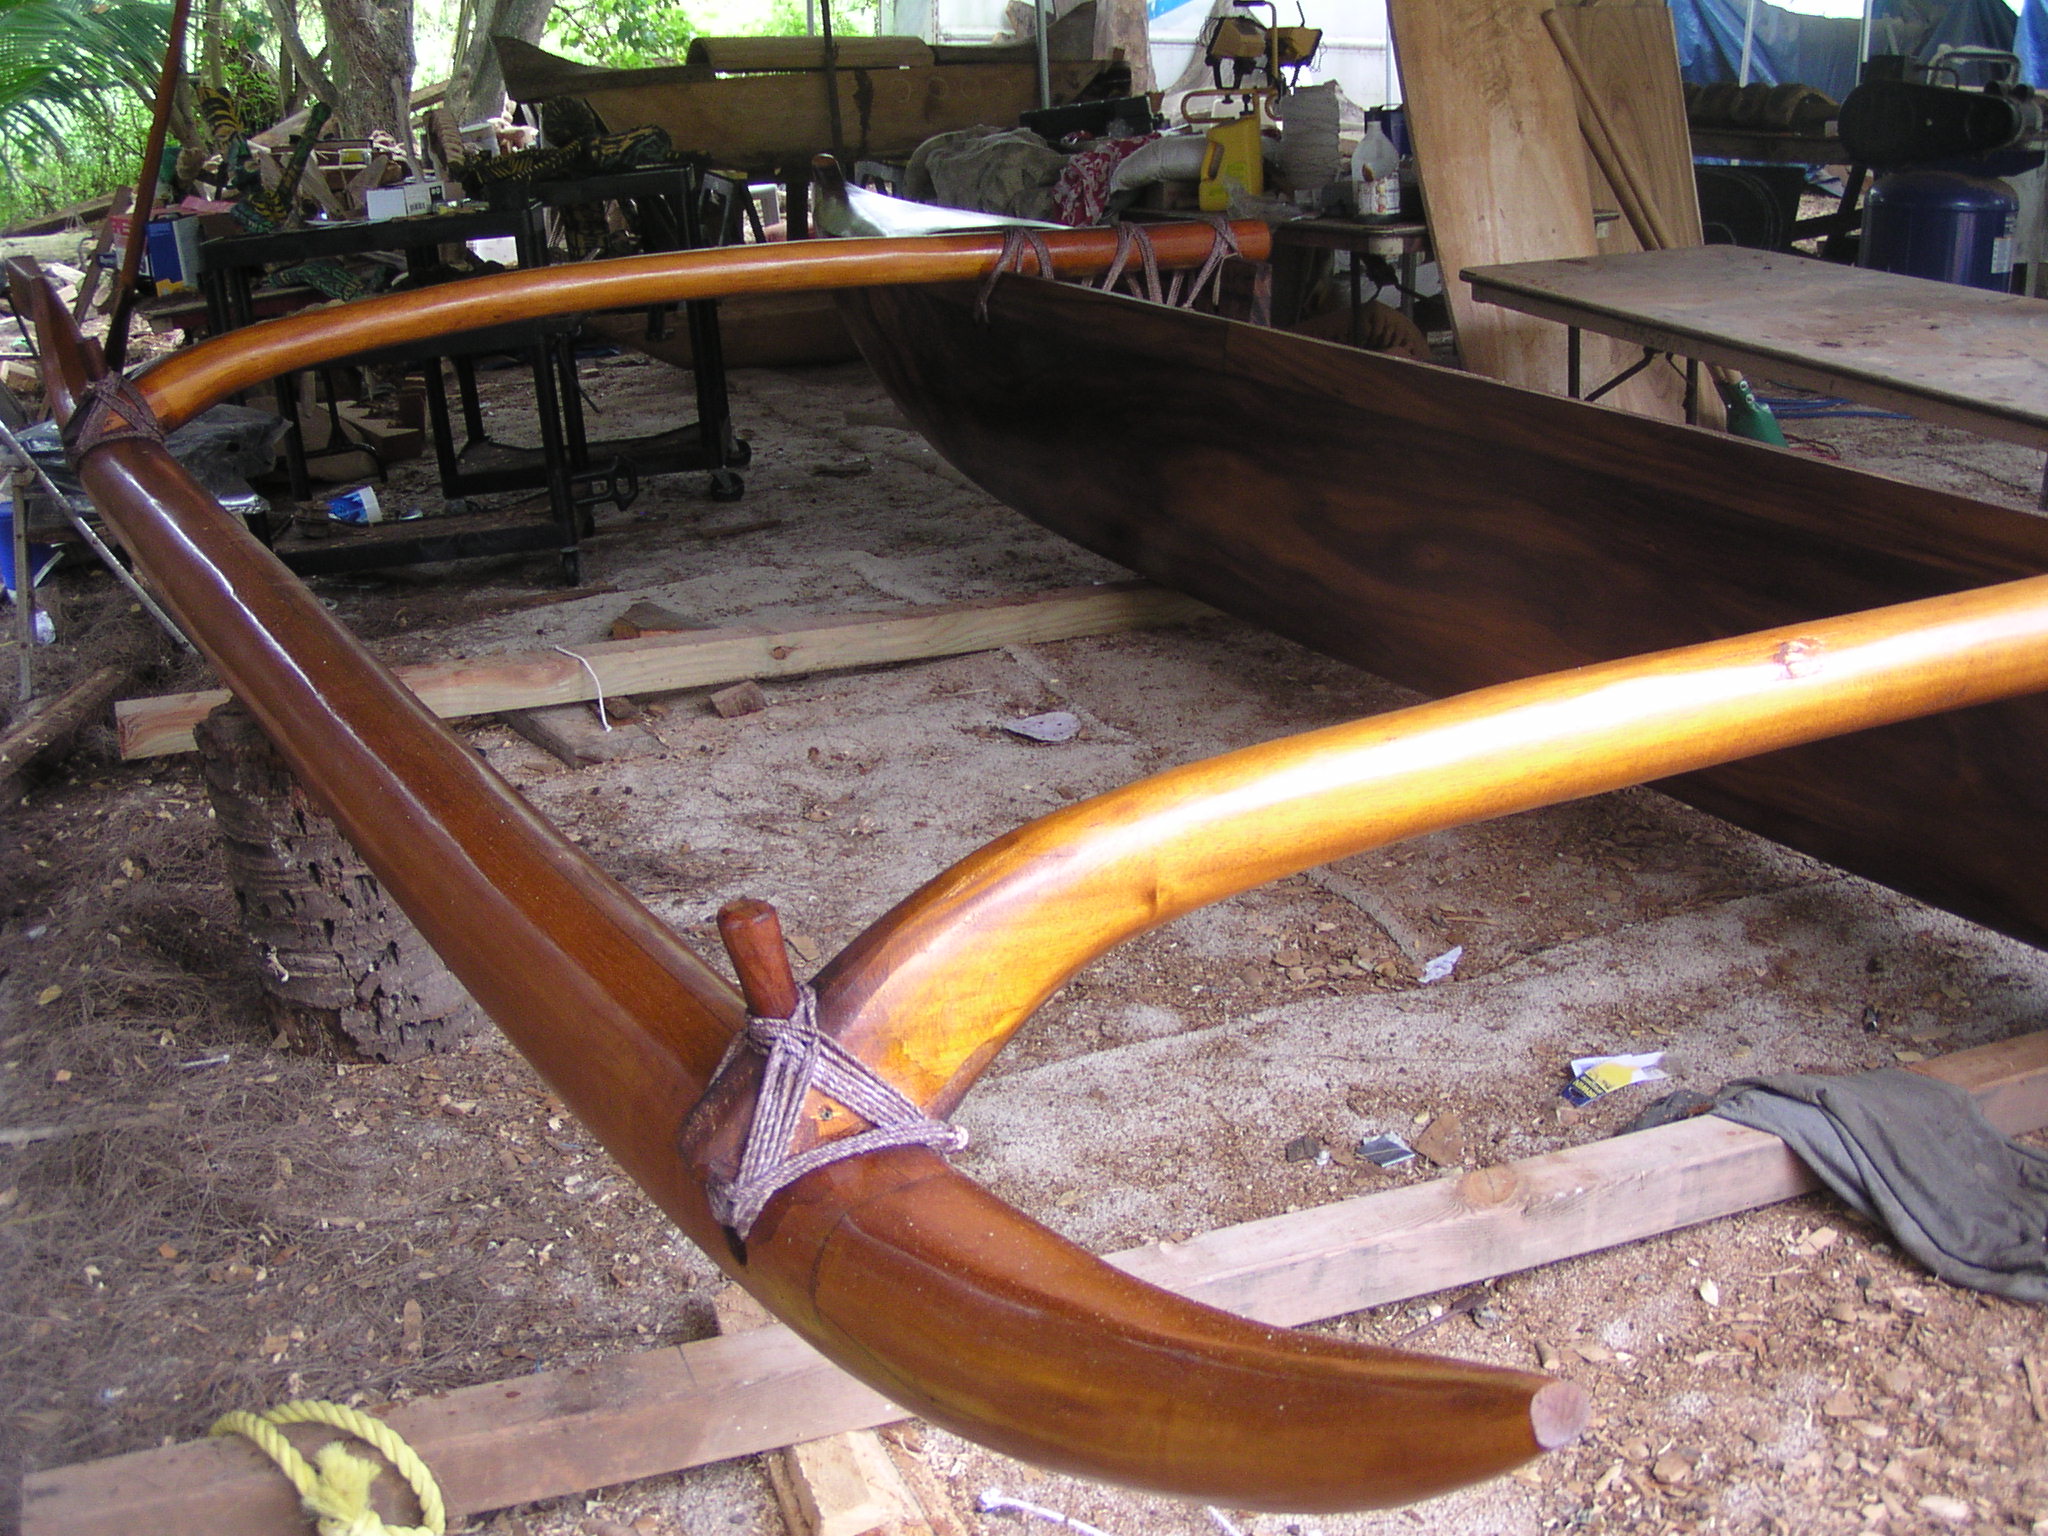
Outrigger and Ama
The outrigger, also known as the ama, provides stability to the canoe. Ensure that the lashings are secure and that the wood is free from cracks or rot. The connection between the ama and the main hull should be firm, without any signs of weakness.

Additional Components
Other parts of the canoe, such as the seats, paddles, and rigging, should also be inspected. These components may require repair or replacement to ensure the canoe is seaworthy.
Gathering the Necessary Materials and Tools
Once you have assessed the condition of your canoe, it's time to gather the materials and tools needed for the restoration. The specific materials will depend on the extent of the repairs required, but some common items include:
- Marine-grade epoxy resin
- Wood filler
- Sandpaper (various grits)
- Wood sealant or varnish
- Replacement wood (preferably the same type as the original)
- Traditional lashing materials (such as coconut fiber or synthetic alternatives)
Having the right tools on hand is also essential. You will likely need a selection of woodworking tools, such as chisels, saws, and clamps, as well as safety equipment like gloves and eye protection.
Repairing and Replacing Damaged Wood
With your materials and tools ready, you can begin the process of repairing or replacing damaged wood. This step is crucial for restoring the structural integrity of the canoe.
Fixing Cracks and Splits

Small cracks and splits can often be repaired using marine-grade epoxy resin. Clean the affected area thoroughly, then apply the epoxy according to the manufacturer's instructions. For larger cracks, you may need to use wood filler or even replace sections of the wood.
Addressing Rot
If you find areas of rot, it's important to remove all the affected wood. Cut out the rotten sections and replace them with new wood that matches the original as closely as possible. Secure the replacement wood with epoxy and clamps, ensuring a tight fit.
Sanding and Finishing
Once all repairs are complete, the next step is to sand the entire canoe. This will smooth out any rough edges and prepare the surface for finishing. Start with a coarse grit sandpaper and gradually move to finer grits until the wood is smooth to the touch.
After sanding, apply a wood sealant or varnish to protect the canoe from water damage and enhance its natural beauty. A traditional finish using natural oils can also be considered to maintain the authentic look of the canoe.
Restoring the Outrigger and Rigging
The outrigger and rigging are essential for the canoe's stability and performance. Ensure that all lashings are secure and replace any that show signs of wear. If the ama is damaged, repair or replace it using the same methods as the main hull.
Traditional Lashing Techniques
For a truly authentic restoration, consider using traditional lashing techniques with natural materials like coconut fiber. However, modern synthetic materials can offer increased durability and may be more practical for those planning to use the canoe regularly.
Testing and Launching the Restored Canoe
With the restoration complete, it's time to test your handiwork. Carefully inspect the canoe for any remaining issues, then perform a water test in a controlled environment. This will help ensure that the canoe is seaworthy and ready for use.
Launching your restored canoe for the first time can be an exhilarating experience, offering a chance to connect with the rich traditions of Hawaiian culture. Whether you plan to display the canoe as a work of art or use it for paddling adventures, maintaining its condition through regular care and maintenance will ensure it remains a cherished piece for years to come.
Conclusion
Restoring a 20-foot hand-carved wooden outrigger canoe from Hawaii is a labor of love that requires patience, skill, and a deep appreciation for craftsmanship and tradition. By following these steps and embracing the cultural heritage of these magnificent vessels, you can bring new life to a piece of history and preserve it for future generations. Whether you're a seasoned woodworker or a novice enthusiast, the rewards of this restoration project are well worth the effort.